You can replace chicken wire without taking the run apart
You can replace chicken wire without taking the run apart, because a run is not one continuous barrier — it is a row of framed bays, and each bay can be stripped, checked, and re-covered on its own while every other bay stays closed. Work one section at a time and the flock never has an opening wider than a single frame.
Stand outside the first bay on a cool morning and lay your hand flat on the old wire. It is cold and slick with dew, and it moves under your palm — not much, just enough that you can feel one hexagon sliding against the next where the wires hook around each other. Pull on it and it gives everywhere at once. Nothing you can see looks broken. That is the whole diagnosis: the staples are fine, the wood is fine, and the wire between them has quit.
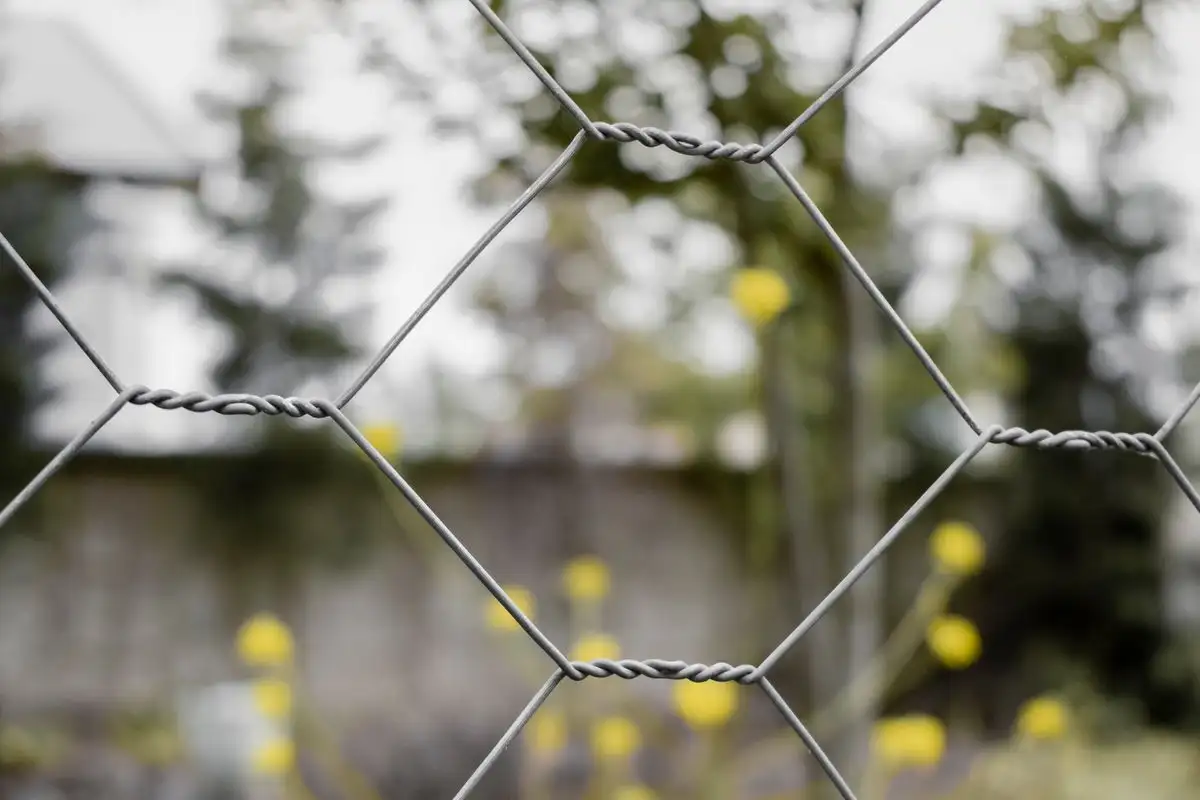
Chicken wire is a weave, not a grid. There is no weld anywhere in it. Each wire bends around its neighbor, twists, and moves on, which is why it hangs so well on a frame and why it deforms so badly inside one. Load doesn't tear it at a fastener; it opens the hexagons. One stretched hex pulls its neighbors out of shape, and a hole that started the size of a thumb is the size of a dinner plate by the next morning.
That is why the patch is a lie I've told myself more than once. Lacing a square of new wire over the tear with baling wire or zip ties doesn't restore the barrier, it relocates the load to the next row of hexagons, which then open. Every patch I've ever put on woven wire has been followed, eventually, by a second tear six inches away. The material is the problem, and the only fix that holds is getting it off the frame.
One Bay at a Time
A bay is everything between two posts: bottom plate, top rail, and the mesh in between. A corner counts as its own bay, because two planes meet there and the mesh has to turn.
I cut the old panel free two or three inches inside the framing, all the way around, so the sheet drops into my hands instead of fighting me. Then I roll it as I go — the wire is springy and the cut edges are sharp, so the roll goes cut-edge-in and gets tied off before I set it down. Old wire that isn't tied will unroll itself across the yard while you're not looking.
What's left stapled to the frame is a two-inch fringe, and here the material's weakness works for you. Grab the fringe and pull along the rail. Hex wire pulls off staple heads in a long strip far more often than you'd expect, because the weave lets go before the staple does. Where it won't, you deal with the staples one at a time.
And yes, the temptation is to strip three bays at once so the job feels like it's moving. Don't. Three bays open isn't a run anymore, and the birds will find the one gap you forgot while you're on the far side with a roll of mesh in your arms.
The Staple Comes Off With a Blade, Not a Bar
A thin metal-cutting blade does more for this job than any specialty tool I own. A hacksaw blade with a tape-wrapped end, or the same blade in a handle — slide it flat against the wood and under the crown of the staple, then cut the crown on the flat. Two or three strokes. The staple clicks apart and the wire lifts free. The two legs stay buried in the post, which is fine; they're below the surface, and anything proud can be tapped flush or gripped with end nippers.
A flat bar removes staples too. It also removes the wood around them. On old dry framing the fibers lift in strips, and every staple you pry out leaves a gouge where the next fastener needs sound wood. That matters more on a retrofit than on a new build, because this frame has already had one set of staples in it and the edge grain only gets so many second chances.
An oscillating tool with a metal blade does the same work faster, but on soft old pine it walks into the wood if you tilt it. Practice on a scrap of the old rail first.
Wear eye protection, and wear gloves. Rusted wire breaks at the twist and flicks.
What the Old Wire Was Hiding
With the covering off a bay, you're looking at the bottom plate and the feet of the posts for the first time since the run went up. This is the part of the retrofit that pays for itself, and you only get the look once.
The bottom plate is the member most likely to be soft. It sits lowest, it collects splash, and on more runs than not it was set straight onto soil. Kneel down and walk it with the tip of a screwdriver, pressing every foot or so. If the tool sinks with hand pressure, that stretch of plate needs a scab or a sister before anything else goes back on. If it crunches and holds, brush it off and keep moving.
Post feet: put a hand on the post at hip height and push it sideways while you watch the base. A little spring across a long run is normal. Movement at the joint, or a shadow opening under the post, is not — the fasteners have worked loose or the base has settled. Fixing that with the wire off takes minutes. Fixing it in two years means taking this bay apart a second time.
Check the corners while you're at it. A frame that has racked shows it as an open joint at the top or a diagonal gap you can see daylight through. That matters now because rigid mesh won't follow a parallelogram the way woven wire does. Woven wire will stretch onto a twisted frame and hide it. Welded hardware cloth goes on flat and stays flat, and a racked frame leaves you with buckled panels and a lap you can't close. Straighten the frame before you skin it.
A Batten Gives the Mesh a Face
Old runs are usually fastened to a narrow edge — the 1½-inch face of a rail, or a 1x2 — because that's where the wire naturally lands. Staples driven into that face can only be so long, and each one is a point of contact. With woven wire you never noticed, because the weave flexed between staples. With rigid mesh, the load shows up as a wave running along the top rail.
The answer is a batten: a 1x2 or 1x3 laid along the rail, over the mesh, screwed into the wide face of the framing rather than the same thin edge. Now the mesh is clamped along a continuous line instead of at points, and the screws have real depth to bite into. Where two bays meet, run one batten down the shared stud and tuck both panel edges underneath it — an inch and a half to two inches of overlap, no exposed panel edge, one batten doing the work of two.
Corners get one piece of mesh wrapped around the post if the bay is small enough to handle. Butting two panels at the corner and stapling both to the same post leaves an edge, and an edge is exactly where something will work at it.
The ground line is the last decision. If the old wire was buried as a skirt, cut it off at the bottom plate and leave the buried part where it lies; it's a rusted ribbon under the soil and it isn't doing anything. The new skirt goes on after the panel is up, along the bottom edge, where you can still reach it from outside.
When the Retrofit Is the Wrong Call
Section by section is the right method when the frame is worth keeping. It isn't right when it isn't.
If the bottom plate is soft along three or four bays, or the post feet have gone, you're about to hang new mesh on a frame that can't hold tension. Same story if the run has racked enough that the corners won't close, or the posts move more than a little when you push them. At that point the honest move is to pull it down and rebuild. A retrofit takes more time per square foot than new construction, because stripping is a whole extra job on top of the build, and doing it on a frame that's already finished is just a slower route to the same place.
The other limit is time. You will not finish a run in an afternoon. Two bays on a Saturday is a good day if the wood needs anything at all.
The Order I Work In
I start at the worst corner and work both directions from it, and I finish a bay completely — mesh on, batten on, skirt attached — before I cut the next one. That way the run is never more than one frame from whole, and if I get called away for a week, what's standing is still a run.
By the time the last batten goes on, the wire has stopped moving under your hand. Walk the perimeter with your palm: down the bottom edge, around the corners, past the door, pushing for any gap you can fit a finger through. Then put the tools away. The flock doesn't know anything happened, and that was the entire point.