The staple gun is where a hardware cloth job starts coming loose
Hardware cloth rarely fails at the wire itself; it fails at the fasteners, and among the four ways mesh actually gets attached — fence staples, screws with fender washers, J-clips or hog rings, and wood battens screwed over the mesh — staples are the one that lets go first. Not because a staple breaks, but because a staple is a poor clamp: it has almost no head, it bears on the wire along a single line, and once the wood around its legs dries and shrinks there is no way to tighten it again. Ranked by how fast they install, staples win by a mile. Ranked by how each attachment behaves when something pulls on the panel from the outside, they finish last. Screws with fender washers are the only joint that can be re-tensioned a season later, battens spread a pulling force along an entire framing member instead of concentrating it, and clips are excellent at seams and useless against wood. Spacing every 4 to 6 inches, and fastening into the face of a board rather than its narrow edge, changes the outcome as much as the fastener you pick.
Come stand where I was standing that March, at the northwest corner of a twenty-four-foot run, the morning after a wind that had left the neighbor's trash can out in the field. Kneel down and put your hand on the corner post. The wire is intact — not torn, not stretched, not even scratched. But the bottom corner of the panel has bowed out maybe an inch and a half from the sill, and if you hook two fingers under it and pull gently toward your chest, the whole panel lifts off the framing along the first two feet, one staple at a time, with a small dry click each time one lets go. You can walk that peel along the entire bottom rail, just by pulling. Nothing has failed. Everything has simply gotten slightly loose, everywhere, all at once.
That is what a staple does. It doesn't break. It stops gripping.
Peel is the load that matters, not tension
When you picture an animal testing a run, you picture tension: something leaning on the panel, trying to push the whole thing in. That load is real, and it's the easy one, because it gets shared evenly across every fastener along the framing member. The load that actually opens a run is peel, and peel doesn't share. It picks one fastener, usually at a corner, and loads it alone. The wire bows out between that fastener and its neighbors, which gives whatever is pulling a grip, which gives it leverage, which concentrates the load on the next fastener down the line. Peel is a relay race, and it only has to win one leg at a time.
So there are two questions that actually separate these four methods. First: when one fastener is loaded alone and worked at over weeks, does it hold its grip or surrender it? Second: when it starts to surrender, can I get the grip back? Those two questions split the list cleanly, and they have almost nothing to do with how long the gun takes to run.
Fence staples: fine right up until the moment they aren't
A staple is a piece of wire bent into a U. It holds by two mechanisms, and both are weaker than they look. The legs hold by friction in the wood. The crown holds the mesh by pressing it against the wood surface. Neither one is a clamp. There's no fastener head, no bearing surface, and nothing that can be turned to restore pressure.
The crown has to cross wire, not sit between it
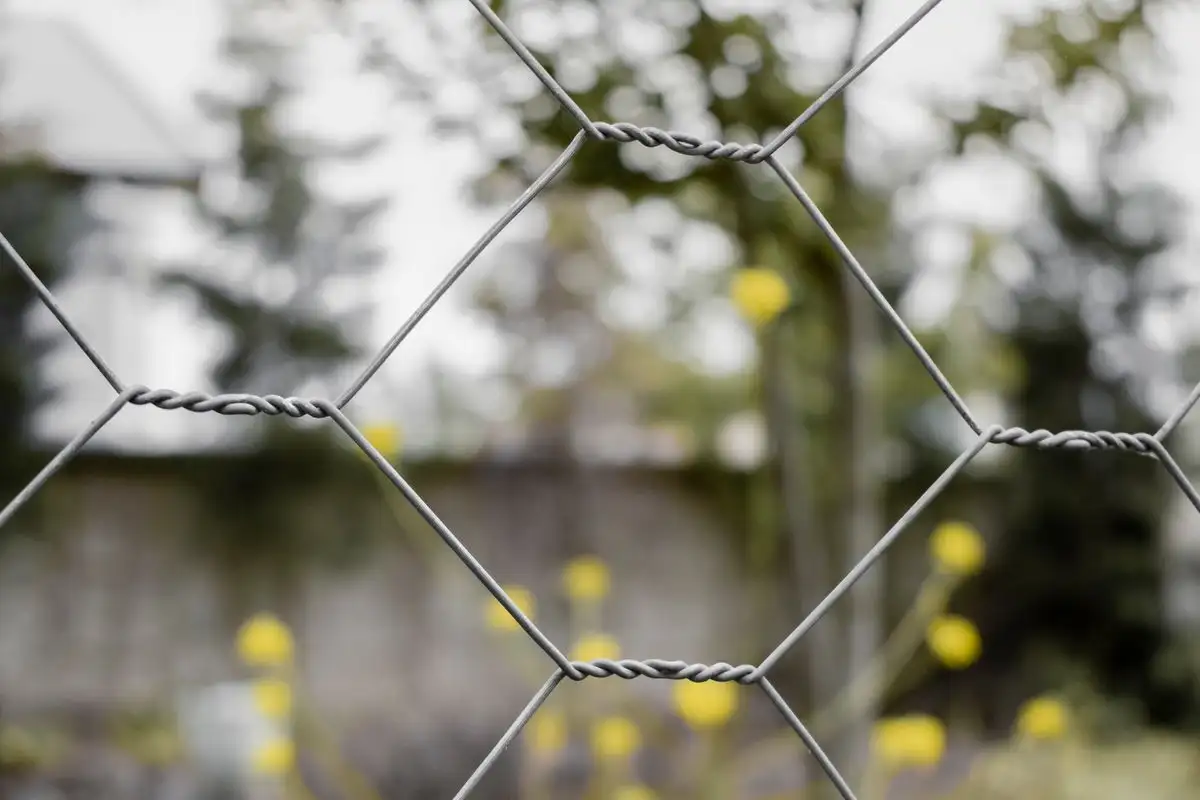
Hardware cloth is a grid. When a staple lands so the crown crosses two parallel wires, ideally at an intersection, the pull transfers into the crown at two points and the wire can't rotate or slide. When the crown lands in the open square between wires, it is pressing on nothing at all, and the panel can walk sideways under it. Both staples look identical from a foot away, which is the whole problem with staple guns.
Driving at a slight angle helps, too. Legs set at maybe fifteen degrees off vertical cross the grain differently and resist withdrawing better, the same way a toenailed nail holds better than a face nail. Angling shifts where the crown lands, though, so the practical version is to angle the staple and aim so the crown crosses a wire regardless of where the legs end up.
Overdriving feels like more grip and is actually less
When the gun is set hot, the crown sinks below the surface of the wood and crushes the fibers around both legs. It looks tighter. It isn't. The fibers that were going to hold the legs are the same fibers you just pulverized, and what's left is a staple sitting in a groove with the wire pinched under it. On softwood framing — pine, cedar, anything that's been wet and dried a couple of times — those staples can come out with a firm pull from two fingers.
Face, not edge
This one gets blamed on staples when it isn't the staple's fault. A staple driven into the four-inch face of a 2x4 has four inches of wood to bite, with the grain running crosswise to the legs. The same staple driven into the two-inch edge has half the wood and sits close to the boundary where the board wants to split. Into the end grain of a post it's worse again, because end grain is a bundle of straws. Two runs built from identical materials can behave completely differently for this reason alone, and the fasteners in both of them are the same fastener.
Spacing is about the free span, not the schedule
Four to six inches between fasteners along a straight framing member is the usual guidance, and it's fine for the middle of a run. What it's really controlling is the unsupported span of wire. Peel starts where the wire can bow out far enough to give something a grip, and the shorter the span, the less it can bow. So along a straight run I'll go six inches and not think about it. Within about six inches of a corner, in both directions, I'll go two.
And the honest tradeoff: staples are fast and thin enough that they won't split a batten. There's nothing wrong with using them to tack a panel into position while you work. The mistake is treating them as the attachment rather than the clamp.
Screws with fender washers: the joint that comes back
Here is the property nothing else on this list has. A staple that has gone loose because the wood shrank is permanent, and the only repair is to pull it and set a new one somewhere else. A screw with a washer can be turned a quarter turn in October and be snug again.
That matters because the framing moves. A 2x4 goes from wet to dry and loses width. Summer humidity puts some of it back. Posts rack a little, battens cup. Any clamped joint loses its clamp load as the wood under the head thins out. A fastening system that can't be re-tensioned is a system with a scheduled failure date built into it, and the date is set by the lumber, not by the fastener.
The washer is doing the real work here, not the screw. The screw supplies clamp load. A fender washer — a wide flat washer with real bearing area — turns that clamp load into a ring of pressure on the mesh instead of a point. A screw head alone, or a small trim washer, presses on a single wire at a single spot, the mesh dimples, the wire can pop over the head, and what you've built is a staple with a thread on it.
The tradeoffs are real. It's slower by a lot — six inches of spacing with washers everywhere is a long afternoon. Screws snap in knots instead of driving. Near a board end or edge, they split the wood unless you drill first. And once a screw has been overdriven into stripped wood, you've lost the hole. So I don't do it everywhere. I do it where a load will land: corners, gate frames, the top rail, the bottom rail.
Wood battens: turning every point load into one long clamp
Now take a 1x3 or a 1x4, lay it flat over the mesh along a top rail or a sill, and drive screws through it into the framing behind at eight or ten inches. What you have built is no longer four fasteners. It's a continuous clamp running the length of the member. A pull at any single point now has to fight the friction and pressure along the entire batten, not just at the nearest screw.
That's a difference in kind, not degree. Staples and screws both concentrate force at a point and hope the wood around that point is enough. A batten never lets the force get concentrated, because the wire can't move locally without moving against the whole board.
Where it earns the extra hour: the bottom rail, where something can dig and lift and where the load is worst; the top rail, which takes the leaning and the climbing; and the corner posts, where peel always starts.
Where it doesn't: it hides the wire. Once the mesh is sandwiched between batten and framing, you can't see a developing gap without getting underneath it, and you can't see where something has been working at an edge. It traps moisture against the framing, which matters more on a run that stays wet or where the batten sits close to soil. And pulling a panel for repair means backing out every screw in the batten first.
And the trap inside the trap: do not staple the batten on. If you batten the run and hold the batten with staples, you've kept the staple's weakness and added a board to hide it.
J-clips and hog rings are for seams, full stop
A J-clip or a hog ring is a crimped ring. It joins wire to wire. That is the entire job. There is no version of this that holds mesh to a wooden post — clip mesh to a post and you get a hinged ring hanging on the corner of a board with nothing clamping anything, and it opens the first time something pulls on it.
At a seam, though, they're the best thing on this list. Lap two panel edges an inch or two and clip every few inches down the lap, and you've made a joint that shares load continuously along its length. A pulled seam stretches a little before it holds, which is actually useful, because it absorbs the load instead of transmitting it straight into the nearest fastener. A seam stapled to a post loads one staple, exactly like everything else, and it fails exactly like everything else.
Two things I've learned about clips. Match the ring to the wire, because a ring that can't close flat leaves a hinge. And lap generously, because the strength of a clipped seam is the lap, not the ring. Two inches of lap with clips every three inches beats one inch of lap with clips every inch.
Corners, maintenance, and the rattle test
Whatever you use, the corners deserve double. Peel starts at a corner because a corner is where the wire has a free edge on two sides at once and where the load has nowhere to go but the nearest fastener. Two fasteners within an inch of the corner, plus a batten running past it, is the difference between a corner and a hinge.
Then, once a year — after the first hard freeze, and again after the first hot spell — walk the perimeter and tap the panel with a knuckle. A taut stretch of hardware cloth makes a short, flat sound. A loose one rattles, and it rattles exactly where the grip is gone. Where it rattles, put a driver on it. If there's a screw there, tighten it. If there's a staple there, that's your answer about which system you built.
Most of what gets called "the hardware cloth failed" is really the attachments losing their grip before the wire did. The wire almost always outlasts the fastening. Build as if the fastening is the part that ages, because it is.