Coop Floor That Stays Dry in Rainy Zones Without Concrete
You can build a chicken coop floor that stays dry without using concrete. Three designs work: a deep litter dirt floor, a raised wood floor with a moisture barrier, or a gravel base. The right one for your site depends on how much rain you get and what predators are in your area. This guide explains how to build each system, with drainage details, so you end up with a solid, dry floor that holds up through wet weather.
Three Dry Floor Systems at a Glance
- Check your coop site for water flow, soil type, and predator activity.
- Decide which floor design fits: deep litter dirt, raised wood with a vapor barrier, or a gravel base.
- Slope the ground away from the coop and put in a predator apron.
- Build the floor: excavate and layer litter, frame a wood deck, or install a gravel pad.
- Test with a hose to make sure water drains before you add bedding or birds.
Materials and Tools for All Three Floor Systems
- Shovel and rake
- 4‑foot level and garden hose
- Hardware cloth (½‑inch mesh), at least 2 feet wide
- Heavy‑duty staples or galvanized nails
- For deep litter: coarse gravel, landscape fabric, soil, pine shavings or straw
- For raised wood floor: 2×4 or 2×6 lumber, ¾‑inch plywood, 6‑mil polyethylene sheeting, sheet vinyl or linoleum, silicone caulk, deck screws
- For gravel base: geotextile fabric, ¾‑inch clean crushed stone, tamper, optional pavers
Constructing the Floor: A Step‑by‑Step Guide
Step 1: Assess Your Site’s Drainage and Predator Risk
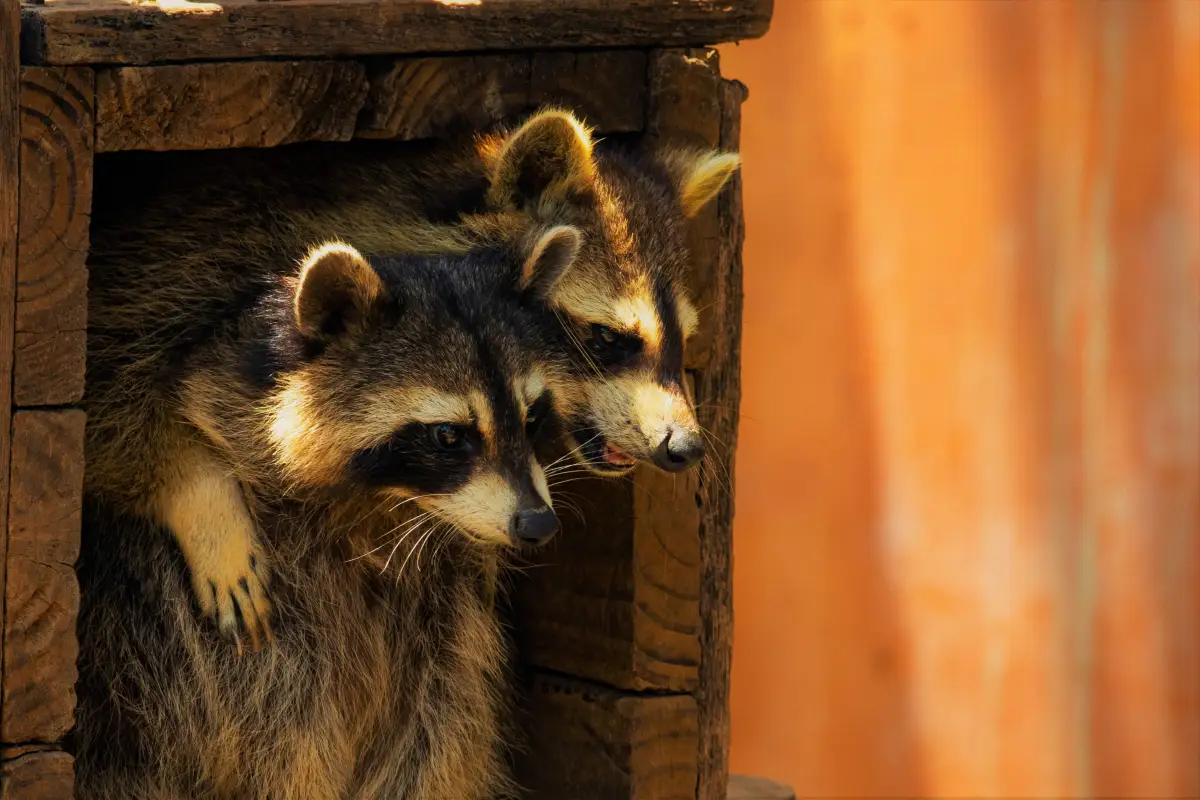
Watch what happens after a heavy rain. If water stands around the spot, that tells you drainage is poor. Dig a hole 12 inches deep, fill it with water, and note how long it takes to disappear. If it’s still there after an hour, you have slow‑draining soil—a problem for any ground‑level floor. While you’re at it, look for signs of digging, tracks, or previous losses. Raccoons, foxes, and dogs call for serious protection.
Step 2: Choose the Right Floor System for Your Site
Make the decision based on what you observed:
- If soil drains easily and predator pressure is low to moderate, a deep litter dirt floor is a straightforward, low‑cost option. It builds up a composting pack that absorbs moisture and generates warmth through decay.
- If the ground stays wet or you’re on heavy clay, skip the dirt floor. A raised wood floor with a moisture barrier keeps the surface high and dry. A gravel base with a drain can work, but only if you build it over well‑draining subsoil.
- If you have raccoons or foxes visiting regularly, a raised floor enclosed with hardware cloth gives the strongest defense. A gravel base with a deep apron can deter them, but a deep litter floor sitting directly on the ground will need a wide apron and solid monitoring.
Step 3: Prepare the Site with Slope and a Predator Apron
Grade the ground so it drops 2–3 inches for every 10 feet going away from the coop. This slope moves rain water off before it can soak in. Next, dig a narrow trench 12 inches out from the coop wall. Lay a strip of hardware cloth into the trench, burying it 6 inches deep, and bend the top 6 inches outward in an L‑shape. Fasten the vertical part to the base of the wall. For a raised floor, also staple hardware cloth across the underside, then extend curtains down to the ground and bury the bottom edge the same way.
Step 4: Build the Floor According to Your Chosen Design
Deep Litter Dirt Floor
Scoop out a shallow basin 3–4 inches deep. Put down 2 inches of coarse gravel for drainage, then landscape fabric, then 4–6 inches of compacted soil. On top of that, spread at least 6 inches of fine pine shavings or straw. The litter pack will compost down over time; maintain it by adding fresh dry material every week and turning it occasionally. Roof overhangs must extend at least 24 inches on all sides to keep rain off the litter.
Raised Wood Floor with Moisture Barrier
Set the coop on piers or concrete blocks so the floor is at least 12 inches above grade. Frame the deck with 2×4 or 2×6 joists 16 inches on center. Before attaching the plywood decking, staple a continuous 6‑mil polyethylene sheet across the bottom of the joists. Overlap seams by 12 inches and tape them securely. Then screw down ¾‑inch plywood and cover it with a single sheet of vinyl or linoleum. Seal every seam and edge with silicone caulk. Enclose the space underneath with hardware cloth, burying its bottom edge 6 inches deep and extending it outward 12 inches.
Gravel Base
Mark the coop’s footprint plus an extra 12 inches around all sides. Excavate 6–8 inches deep. Lay geotextile fabric across the whole excavation; this keeps the stone from mixing with the dirt. Fill with 4–6 inches of ¾‑inch clean crushed stone, compact it with a hand tamper. For a solid walking surface, set concrete pavers on top. If you prefer a deep litter system, add litter directly on the gravel. In areas that collect standing water, dig a shallow French drain along the uphill edge and connect it to the gravel layer with a short piece of perforated pipe.
Step 5: Test Drainage Before Adding Bedding or Birds
Spray the floor with a hose for several minutes. On a deep litter dirt floor, water should soak through without puddling. On a raised wood floor, it should run off the vinyl and not collect underneath. Gravel must drain almost immediately—if you see standing water, add more stone, check the slope, or improve the drain connection.
Verifying Your Work at Every Stage
- After grading: water flows away from the coop; no puddles near the foundation.
- After apron installation: no gaps larger than ½ inch, hardware cloth is tight and secure.
- After floor construction: the surface feels dry after the water test; the polyethylene barrier is intact with no rips; vinyl seams are sealed.
- After starting deep litter: litter is fluffy and smells earthy, not sour or muddy.
- After gravel pad completion: water drains within minutes, even after a heavy spray.
Troubleshooting Common Floor Failures
Wet floor that stays damp even after drainage testing
Cause: not enough slope, or water still pools near the coop. Fix: re‑grade the area to a steeper fall, make sure gutters and downspouts carry water several feet away, and extend the roof overhang if rain is blowing in.
Predators dig under the apron
Cause: the apron isn’t deep or wide enough. Fix: add a second layer of hardware cloth that extends 18–24 inches outward, bury it 8 inches deep, and place large rocks along the outer edge to anchor it.
Deep litter floor turns into a wet, smelly mess
Cause: too much moisture getting in, not enough carbon material. Fix: remove all wet litter, start with a 6‑inch base of dry shavings, increase ventilation, and confirm the roof overhang is shielding the floor.
Answers to Common Coop Floor Questions
Can I use a deep litter floor on clay soil?
You can, but it needs help. Dig out an extra 4 inches and put in a gravel drainage layer beneath the soil cap. Without that, clay will trap water and the litter will stay muddy. In a really rainy climate, a raised floor is more reliable.
How do I prevent moisture from wicking up into a raised wood floor?
Put a continuous 6‑mil polyethylene sheet under the joists before you attach the plywood. Overlap the seams by at least 12 inches and tape them with waterproof tape. That barrier stops moisture rising from the ground.
Is a gravel base floor safe from digging predators?
No, gravel alone won’t stop a determined digger. You have to surround the pad with a buried hardware cloth apron at least 12 inches wide. The gravel slows them down, but the apron is the real protection.
Which floor system costs the least?
A deep litter dirt floor is the cheapest—you mostly need a shovel, gravel, and bedding. A gravel base costs a bit more for stone and fabric. A raised wood floor with vinyl and hardware cloth is the most expensive upfront, but it holds up longer in wet areas.
A dry coop floor without concrete is within reach when you pick the design that fits your rain and predator situation. After the floor is built, the next step is keeping the bedding fresh and checking the apron every season—dry ground underfoot is only part of a healthy coop environment.