What Extension Specialists Actually Do for Chicken Mites
Extension specialists begin with a lifecycle-based treatment framework — environmental, mechanical, and chemical controls sequenced in escalating order. They rely on integrated pest management (IPM) research and extension bulletins, not on product labels. The framework is systematic, testable at each stage, and avoids the common mistake of reaching for a pesticide too soon. This article maps that framework exactly, so you can follow the same protocol, no matter where in the process you are right now.
Where You Stand: Three Entry Points into the System
“I just spotted mites on my birds last night.”
Begin at Stage 1 — detection and environmental audit. The first move is to identify the species and strip the coop of all organic material before any treatment is considered.
“I’ve been dusting with diatomaceous earth and it’s not working.”
Go directly to Stage 2, but backfill the environmental audit if it was skipped. Mechanical controls need to be layered in for the escalation to work.
“I want a prevention plan before mites ever show up.”
Work through every stage now, proactively. The same framework becomes a mite-resistant coop design and a monitoring routine that catches early signs.
Confirm the Enemy and Assess the Environment
This stage identifies the mite, maps infestation sites, and removes organic matter — the primary reservoir for eggs and hiding mites. Skipping it guarantees that any later treatment will fight hidden populations.
Concrete actions:
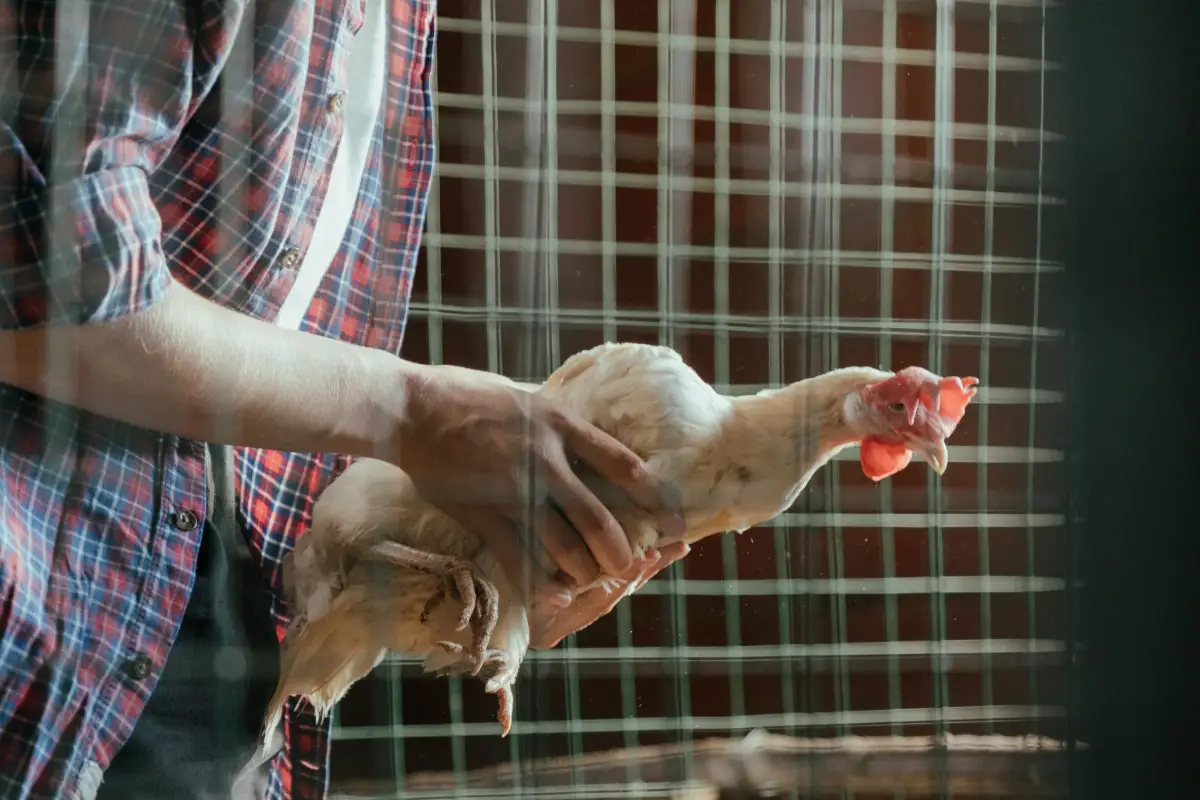
- Inspect birds at night with a bright flashlight; target the vent, under the wings, and the base of the tail.
- Place white paper or double-sided sticky traps under roosts right after dark to capture migrating mites.
- Identify the species: northern fowl mites stay on birds around the clock and appear as tiny moving specks; red mites (poultry mites) hide in cracks during daylight and feed at night, leaving gray or red smears when crushed.
- Clear all bedding, scrape roosts and nest boxes, and bag the debris for disposal away from the coop.
- Record temperature and humidity: red mite eggs hatch faster above 70% humidity, so ventilation becomes part of the audit.
Observable readiness: You have a confirmed mite species, the coop is physically clean of organic debris, and hot spots are mapped.
Disrupt the Mite Lifecycle Without Chemicals
The goal here is to reduce mite numbers mechanically — trapping, blocking, and desiccating — before introducing any acaricide. This is where extension protocols depart sharply from product-label advice, which often pushes a chemical as the first step.
Concrete actions:
- Install roost traps: wrap heavy paper or cardboard around each roost, coat the outside with a thin layer of petroleum jelly or double-sided tape, and replace every 2–3 days. Mites moving onto birds at night become trapped.
- Eliminate hiding places: sand rough wood smooth, fill cracks and crevices with wood filler or caulk, and replace split or hollow roost poles with solid, round perches.
- Apply food-grade diatomaceous earth (DE) only in dry cracks and along roost brackets — never broadcast over birds or the floor, where it poses an inhalation risk.
- Increase ventilation to lower humidity; aim for steady air movement through roosting areas without cold drafts hitting the birds.
- For small flocks, provide a dust bath with dry fine sand and a small amount of wood ash, positioned away from the roosts.
Observable readiness: Nightly trap catches decline markedly over 5–7 days (one full mite generation for northern fowl mite) and birds show less restlessness at night.
Introduce Targeted Low-Toxicity Treatments
If mechanical disruption alone doesn’t clear the infestation, the next escalation uses selective, low-toxicity agents that smother or desiccate the remaining mites. Extension sources treat this as a bridge between physical controls and synthetic chemicals.
Concrete actions:
- Spray birds directly with an oil-based mix — refrigerated mineral oil or a neem oil dilution — on the legs, vent area, and under the wings. Oil blocks the mites’ spiracles, killing them by suffocation.
- Sulfur dust, applied at rates from extension fact sheets, can go onto bedding and be dusted lightly on birds when egg withdrawal is not a concern. Sulfur acts as both an acaricide and a repellent.
- In some state protocols, spinosad-based products become an option, especially for red mites deep in structure crevices. Check registration for poultry in your area and follow the specified interval precisely.
- Treat every bird in the flock at the same time, and repeat the application after 5–7 days to catch mites that were in the egg stage during the first round.
Observable readiness: After two full treatment cycles, five consecutive night inspections turn up zero live mites and no fresh mite droppings on trap sheets.
Chemical Controls as a Last Resort — and How to Use Them Right
Synthetic acaricides (permethrin, carbaryl, and similar) occupy the final position in the escalation sequence. They get deployed only when a stubborn infestation persists despite environmental, mechanical, and low-toxicity efforts, or when a heavy red mite colony has entrenched deep in the building structure.
Concrete actions:
- Select a product labeled for poultry mite control in your state; many garden-center insecticides aren’t registered for use on birds or inside coops.
- Follow extension timing guidelines: a thorough pre-treatment cleanup, a first application immediately after, and a second application 7–10 days later to target the next generation.
- Treat both birds (when the label permits) and the entire coop interior — roosts, cracks, nest boxes — while observing the required withdrawal periods for eggs and meat.
- Keep all mechanical controls running during chemical treatment; a dirty, poorly ventilated coop will defeat even the strongest pesticide.
- Log the product, concentration, date, and observations. That record is essential if a second chemical course becomes necessary.
Observable readiness: No signs of mites for three full weeks after the final application, confirmed by weekly trap checks and nighttime inspections.
Checkpoint Indicators: Readiness to Escalate
- After Stage 1: Mite species identified, coop physically stripped of organic matter, and hot spots documented.
- After Stage 2: Trap catches drop consistently over one full mite generation (5–7 days), and bird agitation decreases.
- After Stage 3: Two complete treatment cycles produce zero mites on birds and traps.
- After Stage 4: Three consecutive weeks of mite-free monitoring post-treatment.
Worries You Can Postpone — For Now
Ivermectin injections.
Most mite cases do not need systemic drugs. Ivermectin becomes relevant only after the entire escalating framework has failed against a severe infestation, or when scaly leg mites (Knemidokoptes mutans) are specifically confirmed.
Whole-flock quarantine and long-term separation.
Moving already-infested birds to a new area tends to spread the mites. Treat all birds and the environment together. True quarantine applies to incoming birds before introduction.
Full coop fumigation or replacement.
This is a last-resort measure for a large commercial house where structural red mite reservoirs have survived multiple chemical rotations. A backyard coop rarely reaches that threshold.
Burning bedding and nesting material on site.
Bag and remove debris from the property. Burning inside the coop or run creates a fire hazard and toxic fumes that outweigh any potential mite-killing effect.
Common Questions Extension Specialists Hear About Mites
Can I use food-grade diatomaceous earth directly on my chickens?
Extension guidance generally recommends against liberal dusting of birds because inhaling fine silica particles can irritate the respiratory system. Applying DE to dry cracks and structural surfaces is effective and much safer.
How do I know the mites are really gone?
The extension-standard threshold is three consecutive weekly inspections with zero mites on traps and no signs on birds. A single clear check is insufficient — mite eggs can hatch days later.
Why do all the extension guides say to repeat treatment after five to seven days?
That interval catches the next generation. Most poultry mites complete their egg-to-adult cycle in 5–7 days at typical coop temperatures. The first application kills existing adults and nymphs; the second hits newly emerged mites before they reproduce.
Are there mite-resistant chicken breeds?
No breed is immune. Some heavy-feathered or docile breeds can be harder to inspect and may carry mites longer before detection. The environment and management matter far more than genetics.
The End State and the First Step
Reaching the end goal means the mite lifecycle is broken, the population is gone, and the coop environment resists reinfestation through routine monitoring and sanitation. For the most common entry point — “I just found mites on my birds” — the first action is to inspect every bird with a flashlight tonight and commit to a complete coop cleanout first thing in the morning.