Why Your Incubator Humidity Is Killing Your Hatch
You set the incubator, followed the standard humidity advice, and found fully developed chicks dead in the shell, shrink‑wrapped, or drowned. The problem is almost always humidity, not temperature. Two common scenarios explain it: humidity that stayed too low early in incubation, drying the membrane too fast; or humidity that stayed too high early, leaving too little air space. In both cases the standard ‘40–50% then bump to 65–70%’ routine fails because it ignores the embryo’s changing need for moisture loss. The fix is a day‑by‑day graduated humidity curve, corroborated by egg weight loss, that prevents the late‑term deaths most hatchers blame on something else.
The Symptom: Fully Formed Chicks Dead Before Hatch
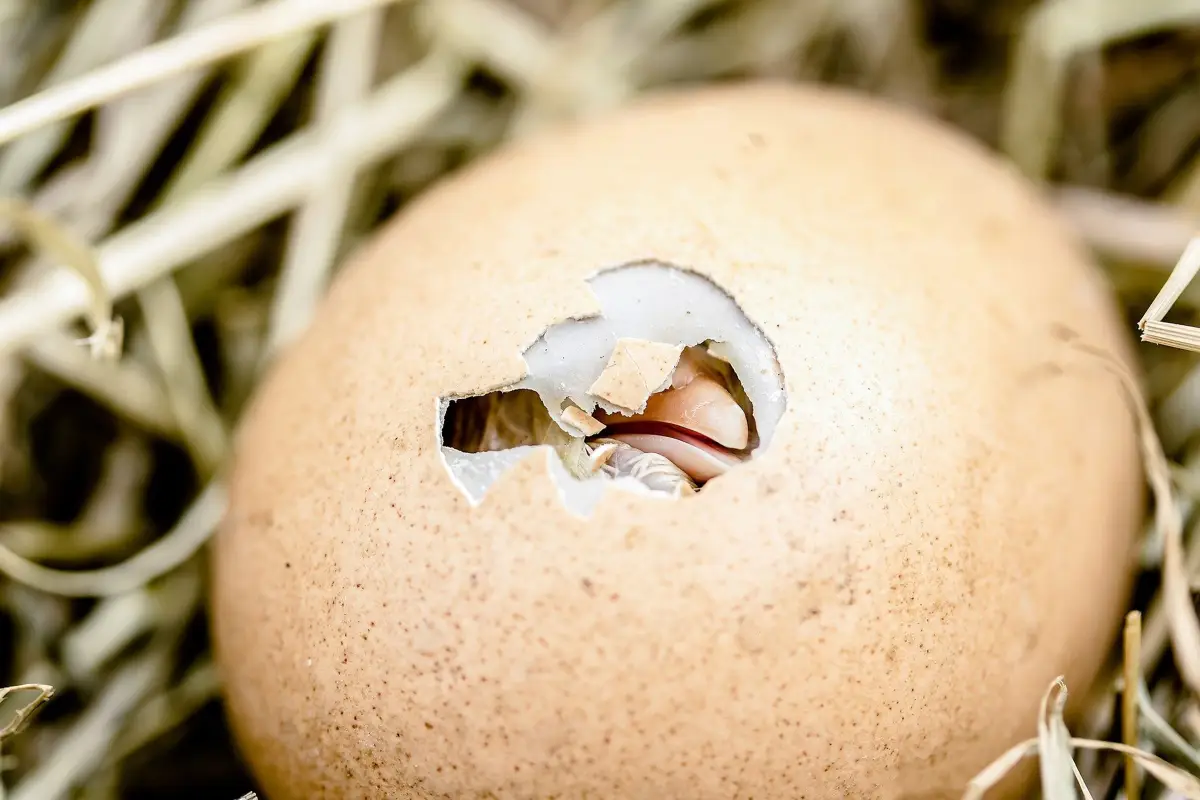
Dead‑in‑shell chicks that pip internally but never zip, a rubbery membrane shrink‑wrapped around the chick, or fluid in the nostrils all point to one thing: the air cell did not reach the right size for the chick to position itself and inflate its lungs. Temperature swings and weak embryos are quick to shoulder the blame, but in most cases a humidity misalignment drove the wrong evaporation rate. When the air cell is too small at lockdown, the chick drowns. When it is too large, the chick desiccates and becomes trapped.
Quick Fix: A Day‑by‑Day Humidity Schedule Instead of the Two‑Step Bump
Stop adjusting humidity against a single range. The graduated schedule below aligns with how the embryo actually uses moisture.
- Use this humidity curve:
- Days 1–7: 30–35% relative humidity
- Days 8–14: 35–40%
- Days 15–18: 40–45%
- Days 19–21 (lockdown): 65–70%
- Weigh a sample of eggs on day 1 with a gram scale. Track the average weight and aim for 13–15% loss by day 18. If the eggs lose less than 13%, humidity is too high. If they lose more than 15%, humidity is too low.
- Make small adjustments — 2–3% at a time — and re‑check weight or air cell size every two days. Weight‑loss data overrides a hygrometer reading when they disagree.
Air Cell Too Small at Day 7: Early Humidity Was Too High
What causes it
Relative humidity above 45% during the first week slows evaporation. The air cell stays undersized. Without enough internal air, the chick cannot access the oxygen it needs to finish hatching.
How to confirm
Candle on day 7. A normal air cell in a chicken egg is roughly dime‑sized at that point. If the air cell appears as a thin sliver or is barely visible, the humidity has been excessive.
Exact fix
Drop humidity to 30% right away and open vents slightly to improve air exchange. Re‑candle in three to four days. Once the air cell starts expanding properly, follow the graduated curve.
Shrink‑Wrapped Chicks: Air Cell Grew Too Large from Chronically Low Humidity
What causes it
Humidity that lingers below 25–30% for too long desiccates the inner membrane. It tightens around the chick, preventing rotation. The chick pips but cannot progress.
How to confirm
Candling on day 18 shows an air cell that occupies more than one‑third of the egg. At hatch, the chick is fully formed and wrapped in a dry, tight membrane.
Exact fix
Begin raising humidity earlier. Move to 35–40% as soon as the oversized air cell is noticed. During lockdown, add warm water in small amounts — a damp sponge, partial refills — so the humidity climbs to 65–70% by day 19, not in a single sharp jump.
Drowned Pippings: The Lockdown Humidity Spike Backfires
What causes it
An abrupt increase from 40% to 70% at day 18 can create condensation inside the egg. When the chick pips and inhales, it aspirates that fluid.
How to confirm
Dead pipped chicks with fluid in the beak or nostrils. The shell shows an external pip hole with no further progress.
Exact fix
Raise humidity gradually over the course of day 18. Add water in multiple small steps and watch the hygrometer climb slowly. If the incubator must be opened during lockdown, work quickly and have a plan to restore humidity over several minutes rather than in a burst.
A Hygrometer That Lies: Inaccurate Readings Sabotage Your Settings
What causes it
Analog or uncalibrated digital hygrometers routinely read 5–10% off. An incubator that looks like it’s at 40% could actually be at 30% or 50%.
How to confirm
Run a salt calibration: place a bottle cap of damp salt (saturated paste, no standing water) and the hygrometer in a sealed plastic bag. After 8–12 hours, a correct reading is 75% RH. Deviations are your offset.
Exact fix
Calibrate the unit if possible. If not, note the offset and adjust your target numbers accordingly. Better: use a known‑accurate digital hygrometer and verify with salt every few hatches. When in doubt, trust the weight‑loss data over the hygrometer.
Stale Air and Moisture Buildup: Poor Ventilation Over‑Humidifies
What causes it
Insufficient air exchange traps the water vapor the eggs release. Humidity rises even when little water is added, especially in tightly sealed incubators.
How to confirm
Condensation on the viewing window or lid. The hygrometer stays above 50% during the first week even though the water reservoir is nearly dry.
Exact fix
Open all vents fully. In a still‑air incubator, position a small, quiet fan to circulate air and accelerate evaporation. For forced‑air units, check that air holes are unobstructed.
Altitude Changes the Rules: Thinner Air Accelerates Evaporation
What causes it
Above about 2,500 feet, lower atmospheric pressure increases evaporation. Standard humidity numbers become too dry.
How to confirm
Despite maintaining 30–35%, egg weight loss passes 15% by day 18, and candling reveals oversized air cells.
Exact fix
Shift the day 1–18 range to 40–45% RH, and raise lockdown to 70–75%. Because altitude effects vary, rely on weight‑loss tracking rather than a fixed table.
Advanced & Edge Cases
Eggs from older hens
Thinner shells lose moisture faster. These eggs often need 5–10% more humidity than eggs from first‑year layers. When mixing ages in one incubator, weigh older‑hen eggs separately and target their weight loss near 13–15%, even if younger‑hen eggs lose a little less.
Wet‑bulb vs. dry‑bulb confusion
Some older references quote wet‑bulb temperatures (around 85–87°F for days 1–18). The graduated curve here uses dry‑bulb relative humidity. If your setup relies on a wet‑bulb thermometer, converting to RH requires a psychrometric chart. Switching to a dry‑bulb RH measurement is simpler.
Incubator placement near drafts or heat sources
A window, heater vent, or ceiling fan creates microclimates inside the incubator. Move the unit to a spot with stable room temperature and re‑calibrate afterward.
Preventing Humidity Kills: Weight Targets, Calibration, and Consistent Monitoring
- Calibrate the hygrometer with a salt test before each hatch. Make it a standard pre‑incubation step.
- Track weight loss. Mark 5–10 eggs and weigh them on days 1, 7, 14, and 18. If the average falls outside 13–15% by day 18, adjust humidity immediately.
- Keep a written log. Record humidity settings, room conditions, vent positions, and weight readings. Over multiple hatches, this log reveals patterns a single hygrometer reading cannot.
- Change humidity in 2–3% increments. Large swings stress the embryo more than a steady drift.
- For forced‑air incubators, verify the fan is running. In still‑air units, place the thermometer and hygrometer at egg height to get representative readings.
FAQ
What is the ideal humidity for chicken eggs day by day?
Days 1–7: 30–35% RH; days 8–14: 35–40%; days 15–18: 40–45%; lockdown (days 19–21): 65–70%. These are a starting point; egg weight loss guides the exact number for your conditions.
How do I lower humidity quickly in the incubator?
Reduce water surface area — remove sponges or empty trays. Open vents fully. Increase room air movement. If that fails, place a small open container of dry, uncooked rice inside to absorb moisture.
Can I open the incubator during lockdown?
Only when necessary, such as helping a chick that is clearly stuck. Every opening drops humidity rapidly and can shrink‑wrap other eggs. Work fast and have a warm, damp cloth ready to replace moisture.
Why do my eggs lose too little weight?
Humidity is too high during the first 18 days. Lower it by 5% and increase ventilation. Re‑weigh after two to three days.
How accurate are built‑in hygrometers on budget incubators?
Often off by 5–10%. Calibrate with a salt test before trusting the reading. Consider placing an independent digital hygrometer at egg level.
When Graduated Humidity Still Doesn’t Work: Next Steps
If you have followed the graduated curve, tracked weight loss, calibrated your hygrometer, and corrected ventilation, but losses persist, look outside humidity. Verify the thermometer against a known‑accurate model — a one‑degree error can alter metabolic rate and moisture loss. In forced‑air incubators, check that the fan distributes heat evenly; still‑air units can develop temperature layers that skew humidity readings. If instrument error is ruled out, contact the incubator manufacturer with your weight‑loss records, or consult a poultry community forum where experienced hatchers can help diagnose model‑specific quirks.