What Extension Specialists Actually Do to Hatch Eggs
Hatching eggs isn't a lottery. Extension specialists treat it as a six-stage protocol where every step has a measurable pass-fail threshold: selection, storage at 55°F and 75% humidity, incubation at 99.5°F, candling at days 7 and 14, lockdown with zero openings, and a hands-off hatch. Follow the numbers, and the hatch becomes repeatable. Deviate, and the losses arrive with a clear cause.
The Four Control Points That Determine Whether Eggs Hatch or Die
The entire process reduces to four interdependent controls. Each has a benchmark, and ignoring that benchmark doesn't create a minor dip—it produces a predictable failure.
- Egg quality sets the ceiling. A flock deficient in nutrition or too young or too old produces eggs that will never reach full development, no matter how perfect the incubator.
- Environmental stability from storage through incubation. Embryos tolerate almost no temperature fluctuation; 99.5°F isn't a suggestion—a sustained deviation of half a degree changes developmental timing and viability.
- Diagnostic checkpoints (candling) remove non-viable eggs before they rot and contaminate the incubator atmosphere. Skipping candling is like running a lab test without reading the results.
- Transition discipline at lockdown. Humidity must rise from 50% to 65%+ at the precise moment the chick stops being turned. If the membrane dries out during pipping, the chick dies. No second chances.
Every number in the protocol below maps directly to one of these controls.
The Six-Stage Sequence That Converts Fertile Eggs Into Live Chicks
This is the framework found in cooperative extension bulletins across the US. Each stage includes a non-negotiable metric. If you hit it, the next stage has a fighting chance. If you miss it, the downstream result is compromised.
Egg Selection: Eliminate the Obvious Failures Before Day Zero
Begin with a flock where a rooster has been active. Extension guidance says: choose eggs that are clean, uncracked, of average size for the breed, and laid within the past 7–10 days. Discard misshapen, thin-shelled, or oversized eggs—these carry sharply lower embryonic viability. A visual scan under a bright light (before candling) catches hairline cracks and gross shell defects.
Do not wash unless contamination is severe. If washing, water must be warmer than the egg (110–115°F) and used with a sanitizing solution, or bacteria will be pulled through the pores. Preserve the bloom wherever possible.
When this stage is executed correctly: out of 20 set eggs, at least 16 are fertile, uniformly shaped, and free of visible shell defects.
Egg Storage: Keeping the Embryo Suspended Without Damage
Hatchability declines from the moment of lay. Extension guides specify 55°F (13°C) and 75% relative humidity, eggs stored pointed-end down. This temperature arrests development cleanly. Below 45°F kills outright; above 80°F triggers partial development that stalls and leaves the embryo weakened. After 7 days, viability drops roughly 0.5–1.5% per extra day; past 14 days, the decline is steep and non-linear. Turn eggs gently once daily if storage exceeds 4–5 days.
When executed correctly: every egg in storage stays between 50°F and 60°F, and the oldest egg in the batch is no more than 10 days post-lay.
Incubation: The Thermal Window That Makes or Breaks Development
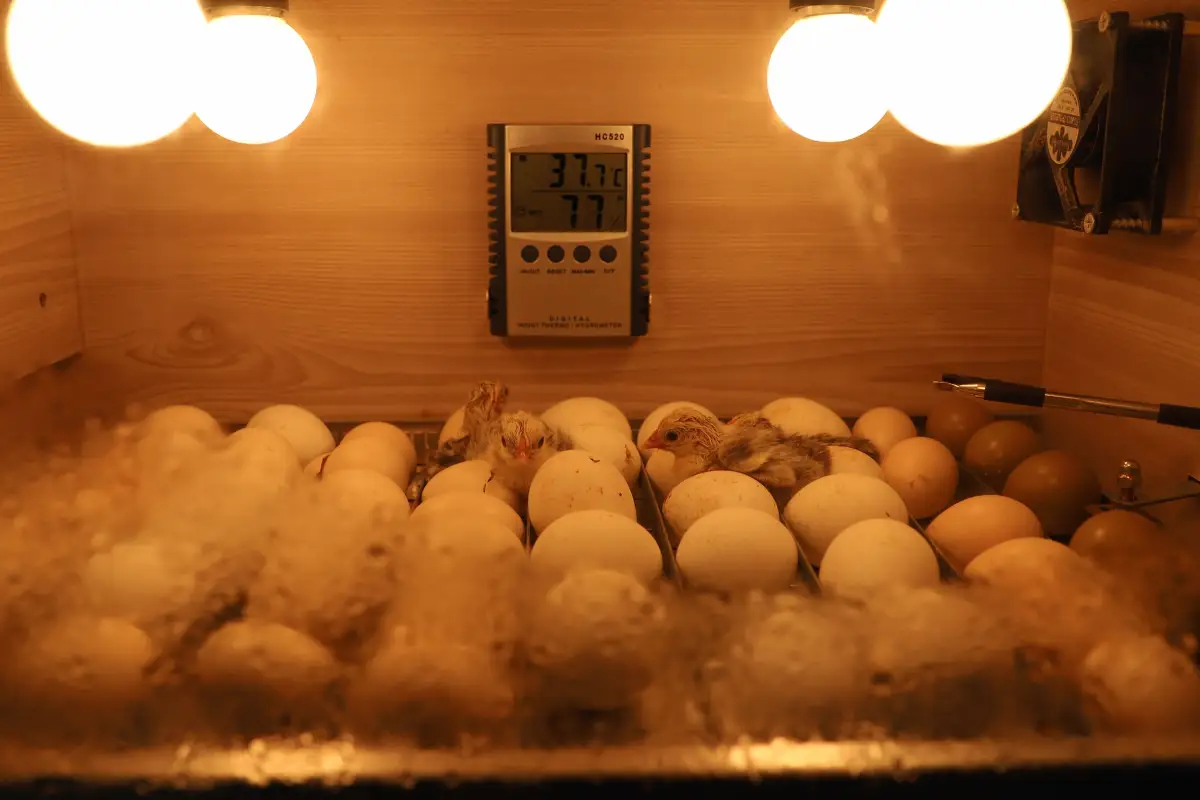
Set eggs only after the incubator has stabilized at the target temperature. Forced-air models require 99.5°F (37.5°C) and 50–55% relative humidity for days 1–18. Still-air incubators demand 101–102°F, measured at the top of the eggs. A digital probe thermometer at egg level is mandatory—internal thermostats drift, and that drift can be lethal. Turn eggs a minimum of three times daily, in an odd-numbered pattern to avoid the same orientation overnight. Automatic turners eliminate the primary source of human error.
When executed correctly: temperature stays within 0.5°F of target for the full 18 days, and humidity is steady enough for the air cell to enlarge at a predictable rate, verified by candling.
Candling: The Diagnostic Step That Separates Protocol Followers From Gamblers
Candling at two defined points turns the incubator into a monitored system. First check at day 7–10 identifies infertile clears and early stops; second check at day 14–18 confirms ongoing development and flags blood rings or arrested growth. Discard non-viable eggs immediately—they leak gas and spread bacteria. Use a bright LED candler in a completely dark room. Look for veins, movement, and an air cell proportional to the day of incubation.
When executed correctly: a log exists with a status entry for every egg; non-viable eggs are removed within hours of identification; the remaining cohort shows consistent air cell growth.
Lockdown: The Hard Protocol Shift on Day 18
Day 18 changes everything. Stop turning. Raise humidity to 65–70%, which softens shell membranes and prevents chicks from becoming glued to the shell. Increase ventilation slightly if your incubator design supports it. From this moment, do not open the incubator until the hatch has concluded. The chick positions for internal pip, then external pip; a humidity crash can shrink-wrap the membrane, killing a fully formed chick in minutes. Some extension sources recommend penciling a small “X” on the shell at day 18 to track pips through the viewing window.
When executed correctly: humidity stays above 60% for the entire lockdown, and the incubator remains sealed from day 18 through at least day 22.
Hatch Day: From Pip to Brooder Without Interference
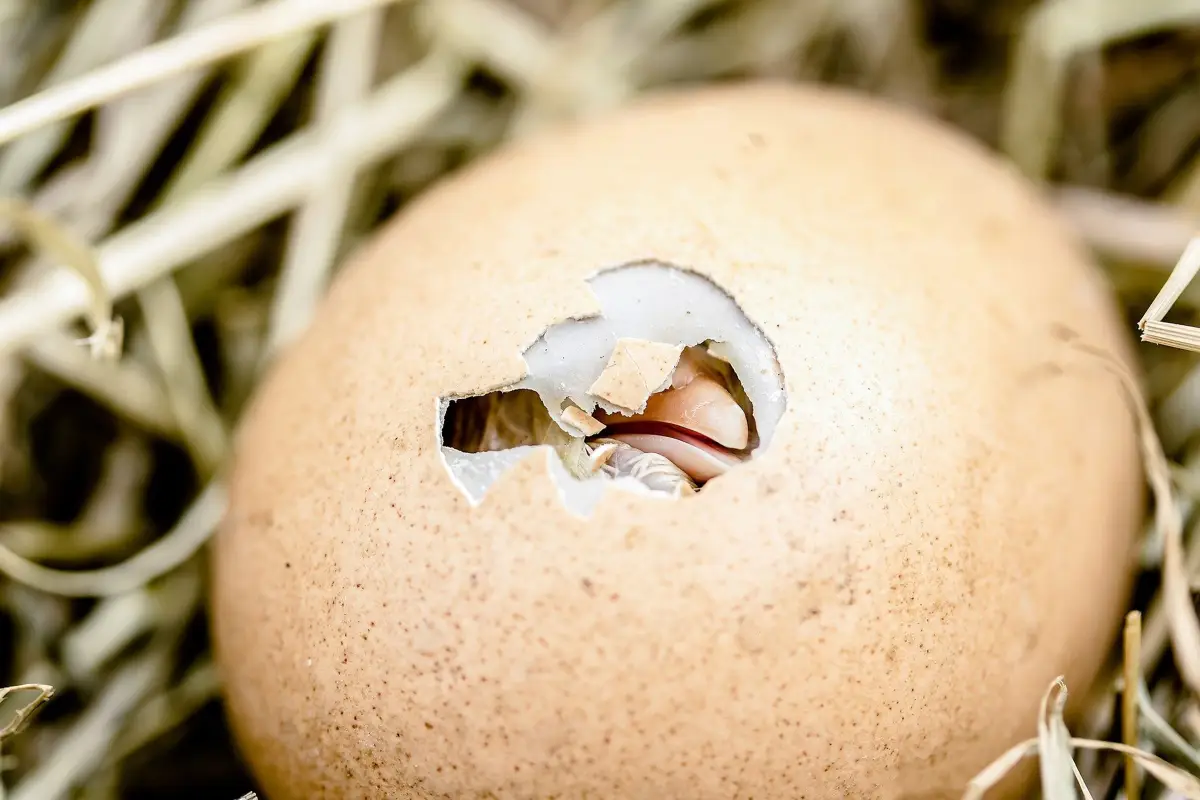
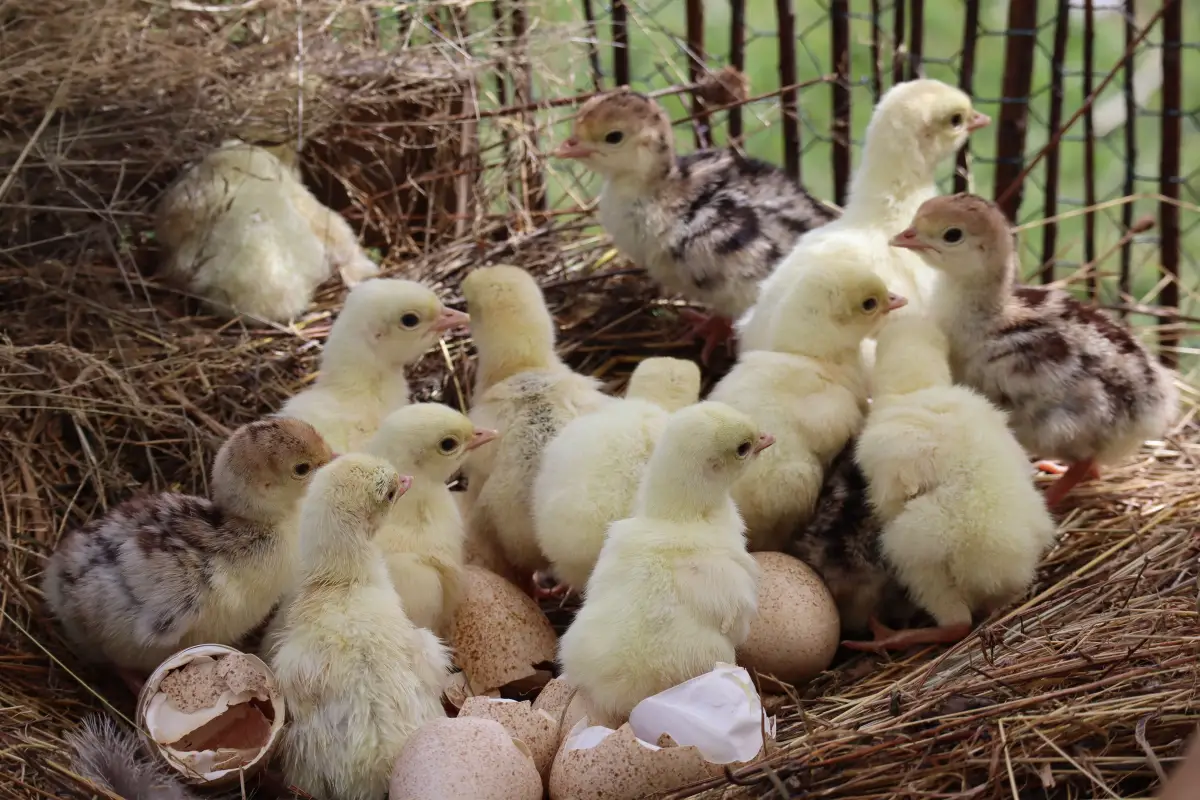
External pips begin around day 21. The sequence from pip to zip takes 12–24 hours. The protocol is explicit: do not assist. A chick that cannot self-extricate almost certainly has underlying defects. Move a fully dry, fluffy chick to a brooder preheated to 95°F at chick level. Leave hatched chicks inside for up to 24 hours; their movement and sound stimulate late arrivals. Only after the majority have hatched and dried should you briefly open to transfer dry chicks, then close immediately. Unpipped eggs remaining after 24–48 hours beyond the due date are non-viable.
When executed correctly: fertile egg hatch rate reaches 80% or higher, and no chick is assisted out of its shell.
One Batch From Collection to Brooder: A Walkthrough
A flock keeper with a dozen layers and one active rooster collects 18 eggs over five days, storing each pointed-end down in an egg carton in a cellar that holds 55°F and 72% humidity. On the morning of day six, the eggs are allowed to warm to room temperature over two hours to avoid condensation, then loaded into a forced-air incubator pre-stabilized at 99.5°F and 52% humidity, with an automatic turner cycling every four hours.
At the day-7 candling, 14 eggs show a network of veins and subtle movement; 4 clears are removed. At day 14, all 14 continue developing strongly, with large embryos filling most of the shell. On day 18, the turner is pulled, extra water trays are added to push humidity to 68%, and the lid stays sealed. By late on day 21, pips appear. By the end of day 22, 12 chicks have hatched and fluffed. Two eggs never pip; they receive an additional day with no change and are discarded. The 12 dry chicks move to a 95°F brooder. Final tally: 12 of 18 set, 12 of 14 fertile—an 86% fertile hatch rate. No luck involved, only a protocol followed from start to finish.
Three Ways the Protocol Gets Broken—and What It Costs
Storing Eggs at Room Temperature for More Than a Few Days
Room temperature, usually 70°F or higher, slowly turns on metabolic processes in the embryo. After 4–5 days, viability begins a measurable decline. By the end of a week at 70°F, hatch rates typically fall 15–20% or more. Collecting eggs over a two-week window and holding them on the kitchen counter is the single most repeated error among beginners; the result is a set that looks healthy but produces a fraction of the expected chicks.
Skipping Candling Until Lockdown
Delaying candling to day 18 means non-viable eggs have spent up to 18 days inside a warm, humid chamber, releasing gases and potentially fueling bacterial growth. Removing them at day 7–10 protects the rest. It also means losing the diagnostic information that ties a failure back to storage or early incubation, making it impossible to correct the problem for the next batch.
Opening the Incubator During Lockdown “Just to Check”
The humidity spike at lockdown is fragile. Each lid opening dumps that humidity and drops temperature, which can delay the hatch by hours and cause membrane shrink-wrap. Even a single check can claim multiple chicks. The protocol is zero openings from day 18 until the majority are fully hatched and dry. Rely on a viewing window and external gauges, not the latch.
Quick Reference: Extension Hatching Protocol Benchmarks
| Stage | Goal | Key Action |
|---|---|---|
| Selection | Start with viable embryos | Choose clean, normal-sized, young eggs |
| Storage | Pause development without damage | 55°F, 75% humidity, pointed end down, max 7–10 days |
| Incubation (Days 1–18) | Normal embryonic growth | 99.5°F forced-air, 50–55% humidity, turn 3x+ daily |
| Candling (Days 7, 14) | Identify and remove non-viable eggs | Use bright light; remove clears and blood rings |
| Lockdown (Day 18+) | Prepare for hatch | Stop turning, raise humidity to 65–70%, do not open |
| Hatch (Day 21+) | Live chick emerges unassisted | Wait, transfer dry chicks to 95°F brooder within 24 hours |
Frequently Asked Questions
Can I hatch eggs from the grocery store?
No. Grocery eggs come from hens without a rooster, so they are not fertile. Refrigeration would kill any embryo that happened to be present. Hatching requires fertile eggs collected directly from a flock with an active rooster.
How long can I store fertile eggs before incubating?
Seven days is the safest window. After 10 days, hatch rates decline noticeably. By 14 days, the drop is substantial and often unpredictable. Store at 55°F and 75% humidity, turning once daily if storage runs longer than four days.
What’s the correct incubator temperature for chicken eggs?
99.5°F for forced-air incubators, measured at egg level with a calibrated digital probe. Still-air models require 101–102°F at the top of the egg. The dial on the incubator is not reliable enough to trust alone.
How do I tell if an egg is fertile before putting it in the incubator?
You cannot without breaking the egg open. The practical proxy is confirming an active rooster is present and then candling at day 7. Fertility claims made at collection are guesses until the candler shows veins.
Why shouldn’t I open the incubator during lockdown?
Opening causes an immediate humidity and temperature drop. The sudden dryness can shrink the inner membrane around the chick, preventing it from rotating to break out. The correct procedure is to keep the incubator closed until the majority of chicks have hatched and dried.
Start Where Most Hatch Losses Originate
The extension protocol—selection, storage, incubation, candling, lockdown, hatch—is a chain. For the person setting up their first incubator, storage is almost always the weakest link. A precise thermometer in the storage area and a firm rule to collect and set eggs within one week will correct more failed hatches than any equipment upgrade.