The Winter Scaly Leg Mite Checklist Keepers Miss Until Too Late
Scaly leg mites do not play by the rules of most poultry parasites. They thrive when the air turns dry and cold, slipping past a keeper’s routine because that routine was built for summer threats. A hen whose leg scales looked fine in October can carry a worsening infestation through December and January, with the damage barely visible until the scales are raised and crusty. This article gives you a month-by-month inspection calendar—specific checkpoints for the winter pattern that summer checks miss—so you catch these mites while treatment is still simple and the birds feel no real pain.
How to Use This Guide Based on Your Situation
- You just noticed one hen's scales lifting in January, but you thought mites were a warm-weather problem. Your route through this guide: jump straight to the month-by-month calendar to identify how long the infestation has likely been active, then move to the treatment and prevention stages to stop the spread now.
- You see a limping bird in February and are not sure if it's frostbite or mites. Start at the stage that differentiates mite damage from cold-weather leg issues, because the wrong diagnosis leads to ineffective treatment.
- You run a thorough summer wellness check but realize you have never inspected legs during winter. Begin with the explanation of why winter is the real peak season, then work through the monthly inspection calendar to build a routine that covers the gap.
Why Scaly Leg Mites Peak When Everything Else Slows Down
The scaly leg mite, Knemidocoptes mutans, burrows under the leg scales of chickens and lives out its entire life cycle on the bird. That cycle—from egg to adult—takes about 10 to 14 days and continues regardless of the temperature outside. What changes in winter is the environment the keeper creates: lower humidity in the coop, birds spending more time on perches, and less dust bathing. Dry skin cracks open tiny fissures that give mites easier entry, and the lack of regular mechanical abrasion from dirt baths allows populations to build. Meanwhile, the keeper’s own inspection habits shift. When chores are done quickly in freezing weather, a bird’s legs rarely get a close look.
What this stage aims to achieve: a clear understanding that winter is not a dormant period for this parasite, so monthly checks become an unskippable part of the cold-weather routine.
Concrete actions: review how the mite’s life cycle interacts with dry, still air; realize that infestation can progress without obvious visual cues early on; accept that a hen that passes a visual check in October may be in trouble by January if you don’t actively look.
Observable sign you are ready to move on: you can explain to a fellow keeper why winter demands more frequent leg inspections, not fewer, and you are ready to commit to a systematic schedule.
Your Month-by-Month Winter Inspection Calendar (October–March)
A winter inspection calendar works because each month brings a slightly different risk, tied to temperature, humidity, and the birds’ behavior. The checks described below are designed to find mites before you ever see the thick, crusty scales that are the classic late sign. The goal of this stage: perform these targeted inspections and catch an infestation when it can be cleared in weeks, not months.
October
Inspection focus: post-molt baseline. After the annual molt, scales should lie smooth and flat. Run a fingertip gently up the shank from toe to hock. Any roughness that catches your skin, or any scale that appears slightly lifted at the edges, deserves a closer look with a magnifying glass. Pay special attention to birds that had a known infestation the previous winter—recurrence is common if the coop environment did not change.
November
Inspection focus: humidity drop inside the coop. As heating elements or deep litter systems dry the air, check the spaces between the toes and the underside of the hock joint. Early mite activity often starts there because the skin is thinner and moisture is lost first. Look for tiny white or gray specks at the base of lifted scales. A headlamp and a 5x magnifier make this feasible even in a dim coop.
December
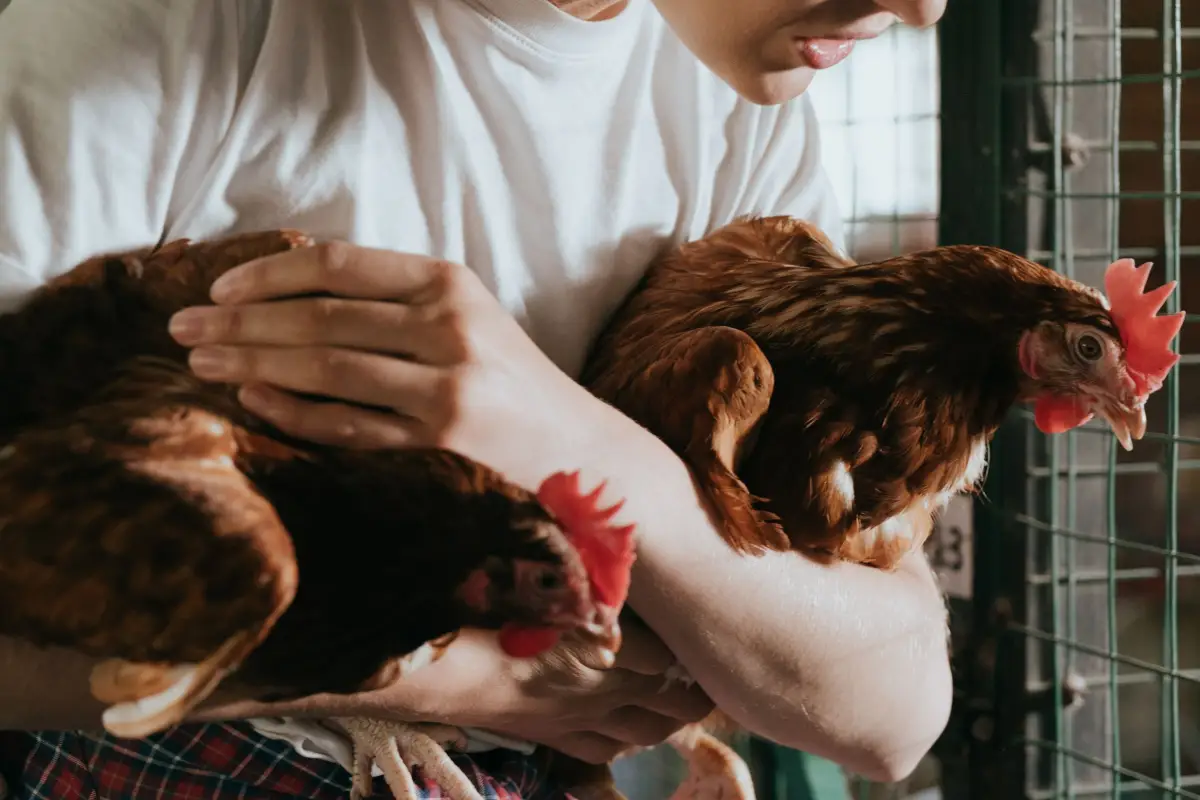
Inspection focus: frostbite checks as a double-purpose routine. When you bring birds inside to check combs and wattles for frostbite, add a 30-second leg inspection. This month’s risk increase comes from the first extended cold snaps that keep birds huddled and inactive, reducing preening and dust bathing. Note any swelling or redness at the shank that could be mistaken for cold injury—mite damage often has a scattered, asymmetric pattern, while frostbite is more uniform.
January
Inspection focus: deep-winter scale brittleness. Scales become more brittle in cold, dry air, and fissures provide entry points for mites. Check the shanks of older birds first; their scales tend to be thicker and more prone to cracking. If you see a flaky, powdery residue when you handle a leg, suspect mite activity rather than simple dry skin.
February
Inspection focus: rising activity before the spring surge. Mite populations can build noticeably as day length increases slightly and birds become more active, spreading the parasite through direct contact. Inspect roosts and nesting material for shed scales that carry mites. If you remove a bird’s leg band at this time and find debris underneath, that is a red flag.
March
Inspection focus: catch advanced cases missed all winter. This is the month when a keeper who skipped winter checks will first notice thickened, lifted scales on an entire flock. The inspection at this point is twofold: identify which birds need immediate treatment, and check untreated birds for the earliest signs. Even in March, a thorough monthly inspection is still catching the problem earlier than waiting for visible lameness.
Observable sign you are ready to move on: you have completed at least two months of the calendar, found either no signs or very early signs (lifted edges, white specks, no crusting), and you can distinguish between normal dry winter scale and mite-related texture changes.
When It’s Not Mites: Distinguishing Frostbite, Dry Skin, and Bumblefoot
Sending a bird through mite treatment when it actually has frostbite delays proper care and adds stress. Ignoring a mite infestation because you thought the flaky scales were just dry skin allows the parasites to spread. The goal of this stage: rule out the common winter leg problems so you treat the right condition.
Concrete actions:
- Compare both legs of the same bird. Mite damage often shows uneven presentation—one leg worse than the other, or patches concentrated near the toes and ankle. Frostbite is typically symmetrical.
- Assess tenderness. Lightly palpate the leg. A bird with advanced mite damage may flinch because the burrowing causes inflammation. Dry, cracked skin without mites is usually not tender unless a secondary infection has set in.
- Watch the flock pattern. Mites move slowly from bird to bird over weeks. Sudden, widespread leg swelling after a cold snap is much more likely to be frostbite.
- Inspect the foot pad. Bumblefoot causes a distinct, localized scab or abscess on the pad, not on the shank scales.
Observable sign you are ready to move on: you have examined at least three birds in your flock and made a confident call on whether the leg changes are mite-related, environmental, or due to another infection.
Cold-Weather Treatment: What Works and What Backfires
In winter, the treatment itself can become a threat if it chills the bird or leaves the leg wet. The goal of this stage: eliminate mites without creating a cold-stress emergency.
Concrete actions:
- Topical occlusive agents (petroleum jelly, sulfur-based ointments). A thick coat applied once a week for three to four weeks smothers mites trapped under scales. Do this in the morning so the bird can move about and the jelly picks up minimal bedding before roosting. Overnight application can stiffen in deep cold and stop working.
- Skip water-based dips and sprays when temperatures are at or near freezing. Liquid treatments that leave the leg damp for more than a few minutes raise the risk of frostbite. If you use a permethrin spray labeled for poultry, apply it indoors and wait for the legs to dry completely before the bird returns to the coop.
- Systemic ivermectin (given under veterinary guidance as an off-label use in poultry) reaches mites from the inside and is particularly helpful when multiple birds need treatment and topical application is impractical in cold conditions. Follow the prescribed dose and respect the full egg withdrawal period.
- Do not pry off crusts. Forcefully removing thickened scales tears the tissue underneath and opens a wound that heals slowly in winter, inviting infection.
Observable sign you are ready to move on: treated birds show smooth new scale growth at the base of the shank within four to six weeks, and no fresh lifting appears on previously clean birds.
Setting Up a Prevention Rhythm That Beats Next Winter
An effective prevention plan changes the winter coop environment so mites struggle to gain a foothold. The goal of this stage: implement practices that keep next winter’s monthly inspections uneventful.
Concrete actions:
- Maintain dust bath access. A covered dust bath with wood ash, sand, and a small amount of food-grade diatomaceous earth (used dry) gives birds a way to mechanically dislodge mites even in cold weather. Position it in a draft-free corner of the coop or in a covered run.
- Manage coop humidity without causing condensation. Aim for a balance—ventilation that prevents stale, damp air but does not dry the space to desert levels. A relative humidity of 40–60% inside the coop supports skin health and limits the dry cracks mites exploit.
- Clean roosts and perches monthly through winter. Use a dry stiff brush to remove scale debris that harbors mites. Pay attention to the crevices where birds settle their feet at night.
- Quarantine new or returning birds and inspect their legs carefully before bringing them into the winter flock.
Observable sign you are ready to move on: you have a written plan—a checklist you will use each October through March—that includes the specific inspection points and environmental adjustments described here, and you can hand it to a flock sitter without additional explanation.
Readiness Signs Recap
- You can explain why winter drives scaly leg mite risk higher and are committed to a monthly inspection schedule.
- You have completed at least two months of the inspection calendar and found either no signs or only the earliest lifting and specks.
- You have examined several birds and can distinguish mite damage from frostbite, dry skin, and bumblefoot.
- Treated birds show new, smooth scale growth and clean birds remain free of lifting.
- A written winter-to-spring prevention checklist exists and you can put it to use without guidance.
Deferred Concerns
- Systemic parasite control programs for the whole flock. When a single bird shows early signs and topical treatment clears it, shifting to an oral or injectable protocol for every bird is unnecessary. The trigger: multiple birds develop heavy infestations despite optimal topical treatment and environmental management.
- Antibiotics for secondary infections. Mite-damaged legs can become infected, but routine antibiotic use is not indicated unless you see swelling, heat, pus, or lameness that persists after mite treatment. The trigger: a leg that worsens or fails to improve after two weeks of mite-specific treatment.
- Permanent leg deformities. Early intervention means scales return to normal; permanent thickening is a late-stage consequence. Hold off worrying about irreversible damage if you are treating an infestation caught before scales have crusted and fused. The trigger: scales remain distorted and lifted six months after mites are eliminated, indicating scar tissue.
Legitimate Accelerators
- Veterinary-prescribed ivermectin can reduce the active mite population in a single dose, cutting weeks off the treatment timeline compared to petroleum jelly alone. It works best when paired with environmental cleaning so re-infestation does not occur. Use this route only when a veterinarian confirms the diagnosis and advises on egg withdrawal.
- A one-time thorough roost and perch scraping using a wire brush followed by a horticultural oil spray (applied at a time when birds can be kept out of the coop for several hours) removes a heavy environmental load of mites and speeds up the break in the cycle.
FAQ
Can scaly leg mites kill a chicken?
Directly, no—mites do not invade internal organs. However, a severe, untreated infestation can cause such deep tissue damage and secondary infection that the bird becomes weak, stops eating, and is eventually lost to sepsis or predation. In practical terms, a heavily infested flock suffers reduced egg production and chronic pain, which lowers overall health.
Do I need to treat the whole flock if only one bird shows signs?
Because scaly leg mites spread slowly through direct contact, it is common to see a single bird with early signs while the rest remain clean. Isolate and treat the affected bird, but inspect every bird in the flock weekly for two to three weeks. If additional cases appear, expand topical treatment to all birds at the same time to break the infestation cycle.
Is petroleum jelly enough to cure scaly leg mites in winter?
For mild to moderate infestations caught early, yes—a thick layer applied once a week for three to four weeks works by suffocating mites. In severe, crusty cases or when birds are hard to handle in cold weather, a veterinarian-supervised systemic treatment often achieves a faster, more complete resolution.
How long does it take for scales to look normal again?
After mites are eliminated, new scale growth at the base of the shank becomes visible in about four to six weeks. Full replacement of damaged scales can take four to six months, especially in older birds. The leg may never look perfectly smooth again if damage was extensive, but it will no longer be painful or actively infested.
Should I treat the coop for scaly leg mites?
Yes. Mites can survive off the host for a short period in shed scales and debris. Cleaning roosts and nest boxes with a brush, then applying a poultry-safe insecticide labeled for mite control, reduces environmental contamination. In freezing weather, most adults die within days without a host, but eggs in crevices can survive until temperatures rise, so a thorough spring clean is also needed.
A keeper who reaches the end goal walks into the coop on a cold morning and checks a leg without a second thought, seeing only smooth, healthy scales because the routine made winter mite damage something you catch in October and stop before January. The very first action for the keeper who has never inspected legs in winter is to pick up a flashlight tonight and examine every bird’s shanks, concentrating on the soft spaces between the toes where mites begin.