Don't Rely on Staples: How to Fasten Hardware Cloth Gap-Free
You’re fastening hardware cloth to a coop frame and the U‑nails keep leaving a 1/4‑inch gap. Driving more of them doesn’t help. That gap is a mouse‑sized door. The right fix isn’t a different nail—it’s a friction‑secured overlap that bends the wire into a channel and locks it down with screws.
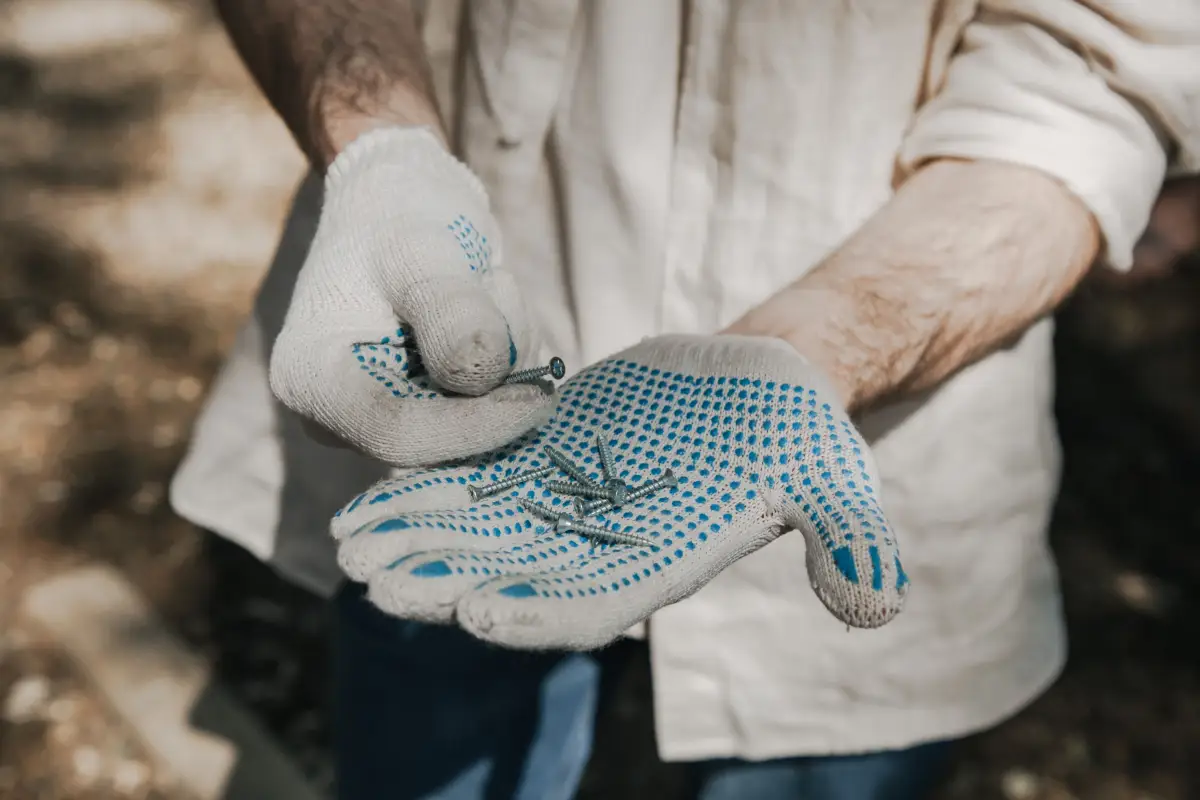
Staple failure comes from the legs. When a U‑nail enters wood, the tines flare outward and lever the crown off the surface. A cutaway drawing of the leg splay shows why: that outward spring never fully releases, so the wire pulls back every time. The overlap technique eliminates the staple entirely. The hardware cloth wraps around the framing edge like a clamp, and fender washers under screws cinch it tight against the wood.
The Friction‑Secured Overlap in 5 Steps
- Cut hardware cloth with a 2‑inch strip extending past the frame edge.
- Bend the strip into a 90‑degree U‑channel and fold a short lip back toward the cloth.
- Clamp the channel over the wood with the lip biting the outer edge.
- Drill pilot holes and drive screws through fender washers every 6 inches.
- Flash a light along the seam and tighten or add screws until no pinpoints show.
What You’ll Need
- ½‑inch hardware cloth, 19‑gauge minimum, galvanized after welding
- Tin snips
- Wide flat‑nosed pliers or a bending brake
- Quick‑release bar clamps
- #8 × 1‑inch exterior screws (stainless or ceramic‑coated)
- Fender washers, ⅞‑inch OD, #8 hole
- Drill with a ⅛‑inch pilot bit
- Flashlight and a scrap of heavy paper
Cut the Cloth with Enough Overhang
Mark 2 inches beyond where the cloth meets the outside face of the framing. That extra strip becomes the channel. For 2× lumber, the channel will wrap a full 1½‑inch face and still leave ½ inch to fold a lip.
Cut with tin snips, keeping the line straight. Wavy edges make the channel harder to bend evenly and leave snag points. Brush off any zinc dust before you start bending.
Bend a Self‑Clamping Channel
Work on a flat surface with the overhang pointing up. Bend along the line to a crisp 90 degrees—a brake gives the cleanest result; pliers work if you bend in 4‑inch sections. Then fold the last ½ inch back toward the main panel at a 45‑degree angle. That short lip hooks the wood edge and helps the channel tighten itself down when the screws go in.
If you’re using heavier 16‑gauge cloth, warm the bend line with a propane torch for 10‑15 seconds. The zinc softens enough to make a tight fold. Don’t do this with 19‑gauge; it’s unnecessary and can thin the galvanizing.
Clamp the Channel Before Fastening
Slide the channel over the framing from the outside. The main cloth lies flat against the inside face of the stud, and the bent channel wraps around to the outer face. Push until the lip catches the wood edge.
Space clamps roughly every 12 inches. Tighten only until the wire sits flush—over‑tightening bows the cloth outward and leaves a hidden gap on the back side. If you spot a gap after clamping, the lip probably isn’t seated. Release, reseat, and re‑clamp.
Secure with Screws and Washers
Mark locations every 6 inches along the outer channel face. Slip a fender washer onto each screw so the head can’t tear through the mesh. Drill a ⅛‑inch pilot hole through the wire and into the wood at each mark; this stops the screw from wandering and keeps the cloth from twisting under torque.
Drive until the washer just starts to dimple the wire. Stopping there maintains maximum clamping without crushing the wood fibers or ripping the cloth.
At corners or panel joints, overlap two channels facing opposite directions and drive a single screw through both layers into the corner stud. That laces the joint shut and eliminates the hairline seam a single panel leaves.
Check for Light and Movement
Shine a bright flashlight along the outside seam while someone watches from inside. Any pinpoint of light is a gap. Add a screw between existing fasteners instead of tightening the nearest one harder—even pressure is what seals the seam.
Try forcing a piece of heavyweight paper (cereal‑box stock) under the bent lip. It should stop at the lip and go no farther. If it slides through, the channel isn’t tight. Pull the nearest screw, tug the cloth tighter by hand, re‑drill a fresh pilot, and drive the screw again.
How to Confirm the Gap Is Sealed
- After bending: Let the bend relax. If it springs back more than 10 degrees, over‑bend slightly to compensate.
- After clamping: No daylight visible between cloth and wood anywhere on the joint.
- After screwing: Washers lie flat against the wire; the cloth stays flat between screws without buckling.
- After the flashlight test: Zero light passes the seam from outside to inside.
When the Overlap Loses Its Grip: Quick Fixes
The channel won’t stay tight after clamping. That usually means the 90‑degree bend isn’t square. Remove the channel, lay a scrap 2× along the bend line, and hammer the fold flat with a dead‑blow mallet. Re‑clamp and recheck.
Screws rip through the hardware cloth. The pilot hole was too small, or the cloth is thinner than expected. Step up to a 5/32‑inch pilot bit and use a larger fender washer (1‑inch OD) going forward. For the torn spot, place a new screw ½ inch away; don’t reuse the damaged hole.
The lip doesn’t catch the wood edge. You may have cut the lip shorter than intended, or the edge is too rounded. Flip the strip and cut a fresh ¾‑inch lip on the opposite edge. On badly weathered wood, drive a temporary brad through the lip to hook it onto the frame while you seat the channel.
Corner gaps let predators push through. A single wrap can leave a tiny gap at plane changes. Fasten a 2‑inch L‑bracket of hardware cloth over the outside corner with screws, overlapping both faces. This patch is the last line of defense.
Questions People Ask About the Overlap Method
Why can’t I just hammer the staples flush?
The legs flare, and that flare pushes the crown back up the moment driving stops. Even if you flatten it with a second hammer blow, the wire relaxes and the gap returns. It’s a mechanical fault, not a user error.
Can I retrofit this onto an existing, partly installed coop?
Yes, wherever the frame edge is accessible. Remove any trim that blocks the edge, then lay a fresh piece of cloth with a channel over the existing wire. The friction joint works without needing to strip the old cloth off.
Does the friction channel hold underground against digging animals?
Better than staples, but it still needs an apron. Bury a 12‑inch horizontal flap that extends outward, joined to the vertical wall with the same channel technique. The buried channel prevents animals from pushing soil against the wire and lifting it.
Will 19‑gauge hardware cloth hold a bend long‑term?
Once fender washers clamp the wire to the wood, friction does the holding. The bend only needs to stay put until the screws are driven. On spans over 3 feet, add an extra screw at the midpoint to counteract any tendency to bow.
How little overhang can I get away with?
One inch is the minimum—enough for a 90‑degree bend and a short lip. But 2 inches leaves room for a less‑than‑perfect bend and creates a stronger lock. Below 1 inch, the lip won’t reliably catch the wood.
Sealed and Ready for the Next Job
The channel is tight, the flashlight test shows no light, and no prying tool can slip a gap. The coop is sealed against anything that crawls or slithers. The next task is to dig a perimeter trench and install a buried apron using the same friction‑wrapped technique—stop diggers at the wall.