Extension-Approved Hardware Cloth Installation for Coops
A hardware cloth installation that meets extension recommendations rests on three components: the mesh itself, how it is fastened, and how it meets the ground. When all three match the USDA APHIS Wildlife Services small-predator fence standard, the barrier stops weasels, rats, and digging animals. When any one component is neglected, the system fails.
Extension bulletins do not judge predator proofing by how the coop looks. They judge by fastener spacing, mesh gauge, orientation relative to the framing, and burial dimensions. The same document that sets a 6-inch fastener rule for small-mammal fences applies directly to a backyard coop. The outcome that matters is whether the cloth resists outward pressure without separating from the structure.
Where Your Coop’s Barrier Fails First
Gaps in hardware cloth installations follow a pattern, not chance. Identifying where a setup falls short determines which part of this article gets the most attention.
- Chicken wire or no wire. Chicken wire fails against any predator with teeth. The path is: select the right mesh, mount it on the outside of the framing, and fasten every 6 inches.
- Hardware cloth attached with too few fasteners. Cloth held by staples at 12-inch intervals or attached only with poultry staples can be peeled back by a raccoon. The priority is the fastener-pattern stage, then the apron.
- No buried barrier. If the cloth ends at the soil line, a fox digs under it in minutes. Start at the apron stage, but verify vertical fastening first.
Half-Inch Mesh Is the Starting Point
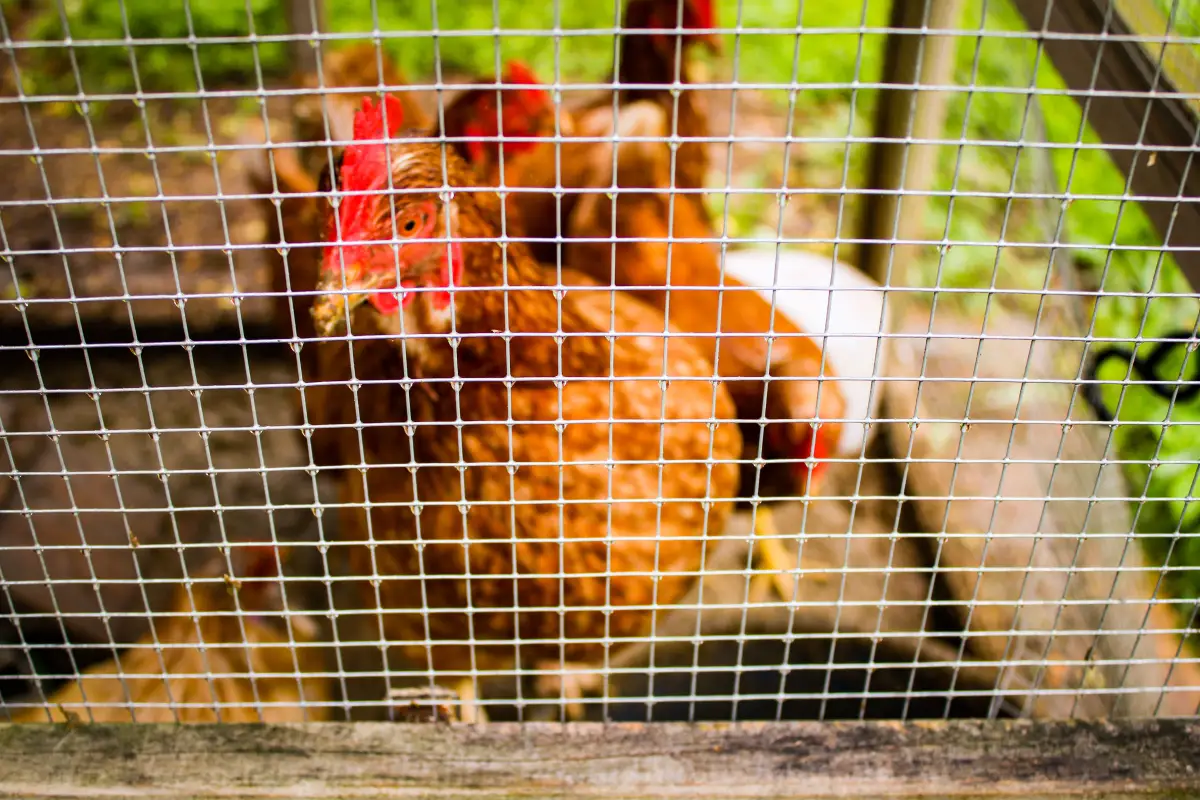
USDA APHIS Wildlife Services fence standards for small predators specify 1/2-inch mesh because a weasel—the smallest threat—can compress its skull through an opening just under 1 inch. Rats require similar dimensions and will chew through lighter-gauge wire. The baseline is therefore 1/2-inch, 19-gauge, galvanized-after-welding hardware cloth.
This stage is complete when:
- Every opening on the coop—windows, vents, eaves, door gaps—is measured and recorded.
- A roll of 1/2-inch, 19-gauge galvanized cloth is on site. For runs under heavy rodent pressure, stainless steel is an option but raises cost without improving the weave strength.
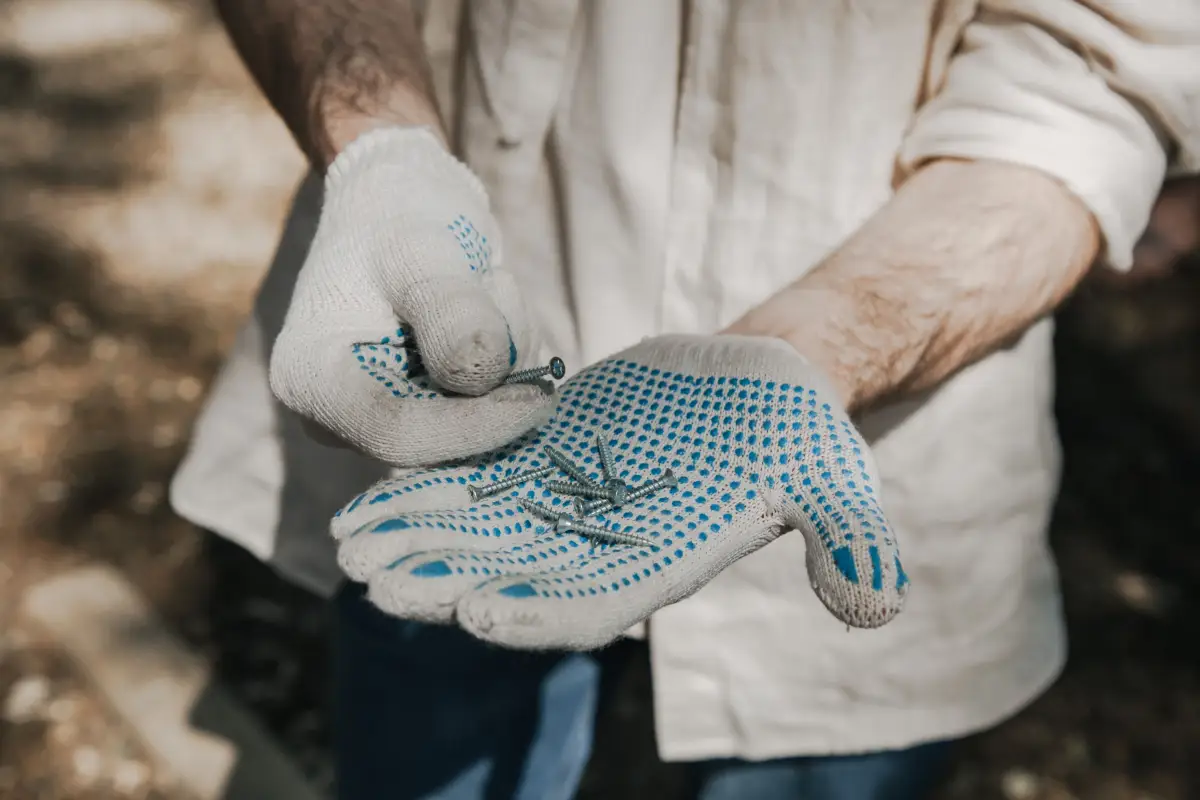
- Fasteners are chosen for the framing: 1 1/4-inch exterior screws with fender washers for wood, self-drilling metal screws for steel, or 1-inch leg narrow-crown galvanized staples where a powered stapler is in use.
- The orientation rule is clear: mesh mounts on the exterior face of every stud and plate. Smooth side faces the birds, keeping burrs away from feathers; rough side faces out, where it presents a less uniform surface to claws.
Fasten Every 6 Inches and Stay on the Outside
A raccoon’s paw reaches through, grips the cloth, and pulls. At 12-inch intervals, the mesh flexes enough to tear free. The standard set by APHIS Wildlife Services for small-predator fencing is no more than 6 inches between fasteners along any framing member.
Concrete actions:
- Strip existing chicken wire or poorly attached cloth.
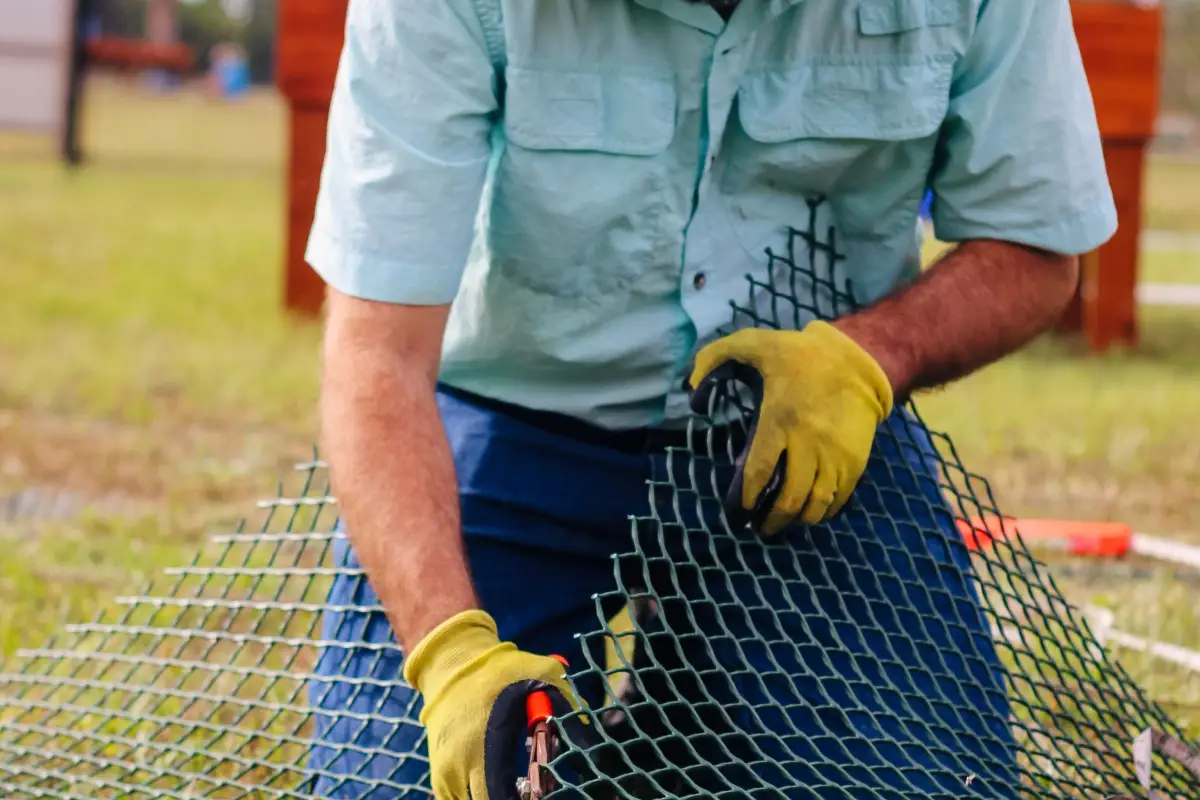
- Cut hardware cloth panels so they overhang each stud by 2 inches on all edges. Use tinsnips; wire cutters leave sharp, irregular edges that snag birds and gloves.
- Pre-drill screw holes through the cloth to avoid tearing when driving fasteners. If using a powered stapler, set depth to avoid crushing the galvanized coating.
- Fasten the cloth to the exterior framing from one corner outward. Each screw gets a fender washer; each staple centers on a wire intersection. Work top to bottom, keeping the mesh taut without distorting the openings.
- Overlap sheets by one full square and fasten at every wire intersection along the seam—this delivers a fastener every 4 to 6 inches.
The stage is complete when outward hand pressure anywhere on the wall shows zero lift-off from the frame. No seam should open wider than 1/4 inch under moderate force.
The Buried Apron: 12 Inches Deep, 18 Inches Out
Digging predators force a different failure mode: they go under. APHIS standards for excluding foxes, coyotes, and dogs call for an L-shaped hardware cloth apron that extends horizontally 12 to 18 inches from the base of the fence, buried 6 to 12 inches deep. For a coop on bare ground, that horizontal leg does the work.
Concrete actions:
- Dig a trench 12 inches deep along the perimeter and extend it 18 inches outward.
- Cut hardware cloth strips wide enough to form the L—typically 30 inches if attaching 12 inches high and bending the rest outward. Secure the top edge to the lower frame at 6-inch spacing.
- At corners, overlap cloth by 24 inches and fasten at every intersection.
- Backfill, tamping in lifts so the cloth holds its shape. Do not compact so aggressively that the wire bends upward; an undisturbed L is the goal.
On concrete pads, replace the apron with concrete screws and washers driven every 4 inches through the cloth into the slab. Seal the contact line with exterior-grade adhesive.
The stage is complete when a tug outward on the bottom edge along the entire perimeter shows no movement, and probing with a narrow shovel confirms the horizontal leg sits at the expected depth.
Seal the Seams and Vents to Close the Smallest Gaps
A 1-inch gap at a roof line or vent admits a weasel. Seams and openings demand the same standard as walls.
Concrete actions:
- Cover every vent opening with hardware cloth, fastening at 6-inch spacing. Where no framing exists, sandwich the mesh between wooden battens and screw through the mesh every 4 inches.
- Inspect corners where walls intersect. If a flathead screwdriver tip enters, a rat can follow. Hardware cloth must overlap rigid materials by at least 1 inch, sealed with 100% silicone or exterior construction adhesive.
- Doors require hardware cloth on the outside surface with the latch zone reinforced so the mesh cannot flex away from the strike plate. Fasten the cloth to the door frame at the same 6-inch pattern.
The stage is complete when a daylight inspection reveals no gap larger than 1/4 inch and the screwdriver test fails at every seam. That seal is the final barrier.
How to Know You Can Move On
- Mesh is 1/2-inch, 19-gauge, galvanized, with material on hand to cover every opening including overlaps.
- Hardware cloth sits on the exterior of all framing, smooth side in.
- Vertical fasteners are no more than 6 inches apart, each with a washer or intersecting staple.
- The L-shaped apron extends 12 inches deep and 18 inches outward, with no loose edges.
- No seam or vent opens wider than 1/4 inch; a screwdriver tip cannot enter.
What to Postpone Until the Basics Are Rock Solid
Several common additions are genuinely useful but become distractions before the hardware cloth standard is met.
- Electric fencing. A hot wire deters climbers only when the physical barrier is continuous. Without the fastened apron and sealed seams, a predator finds the hole first. Deploy electric only after the cloth passes the screwdriver test.
- Motion lights and alarms. They startle but do not block. Their contribution is marginal until all gaps are closed. Prioritize them last.
- Live traps. Trapping removes one individual. A coop with a 1-inch gap or fasteners spaced too far apart invites the next one. Trap after sealing.
- Reinforced latches. A raccoon-proof latch on a door with mesh stapled on the inside still fails at the wall. Lock the latch after the mesh is exterior-mounted.
The trigger for each is completing all readiness checks. Once those are firm, supplementary layers add meaningful redundancy—but not before.
Questions That Come Up After the Hardware Cloth Is Up
Can I use 1/4-inch hardware cloth instead of 1/2-inch for extra security?
1/4-inch mesh often uses lighter-gauge wire, making it easier to chew through. It also restricts light and airflow. Use it only in non-load-bearing areas, or layer it over 1/2-inch mesh where mice are a verified problem.
Does hardware cloth need to be buried if the coop sits on a concrete slab?
No, a slab removes the need for a buried apron. Fasten the bottom edge directly to the concrete with anchors every 6 inches and seal any remaining cracks with construction adhesive. A flexible sealant prevents insects and moisture ingress better than an unsealed gap.
How often should I inspect the installation?
Monthly inspections catch rust, loosened fasteners, and soil erosion around the apron. After storms, check immediately—wind-driven objects can lever fasteners free. A flashlight at dusk shows gaps that daylight hides.
What if I already installed hardware cloth on the inside of the framing?
The safest remedy is to add an outer layer of cloth on the exterior, fastened to the same studs at 6-inch spacing. That creates a double barrier, though it adds weight. Alternatively, replace the installation in stages, starting with the areas most vulnerable to pulling.
When It’s Right: The Extension-Approved End State
A coop that carries 1/2-inch galvanized hardware cloth on the outside, fastened at 6-inch intervals with corrosion-resistant hardware, and an L-shaped apron buried 12 inches deep extending 18 inches outward, with no seam gap exceeding 1/4 inch, meets the functional extension standard for small-predator exclusion. The first practical step for a coop currently wrapped in chicken wire is to strip it, measure every opening, and acquire a roll of 1/2-inch galvanized cloth.