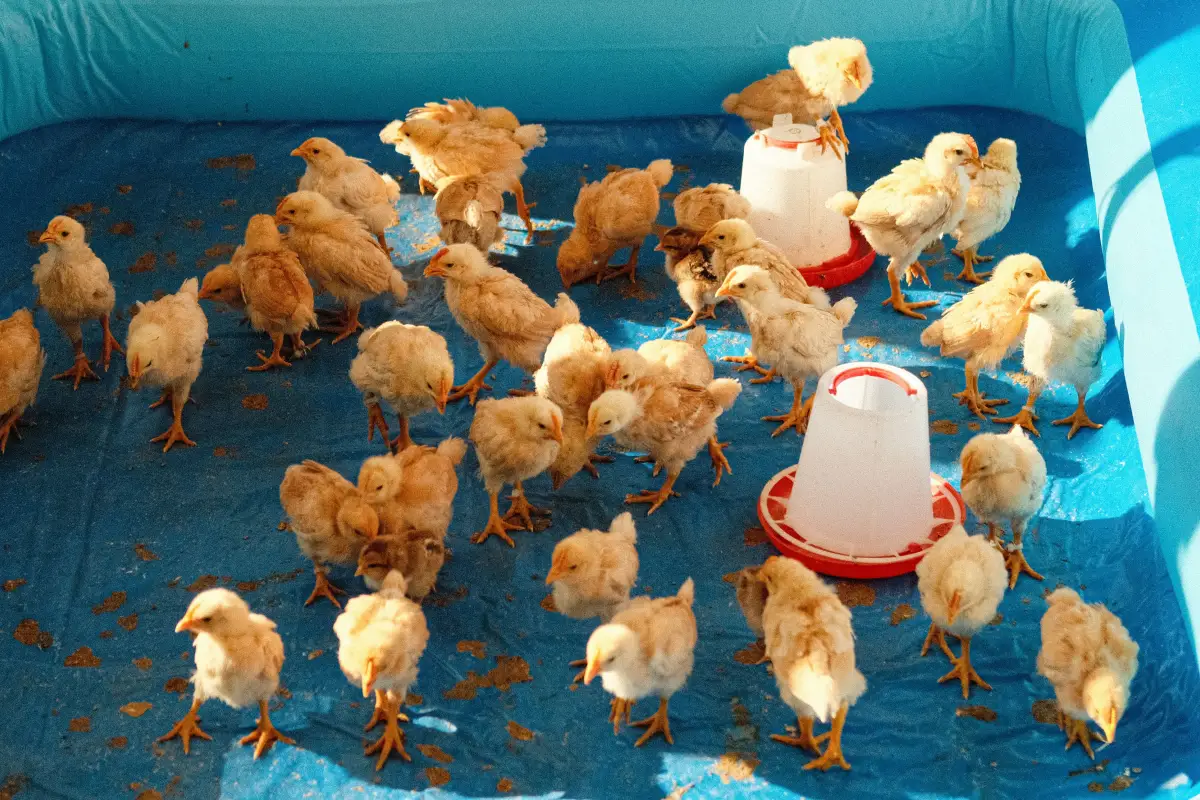
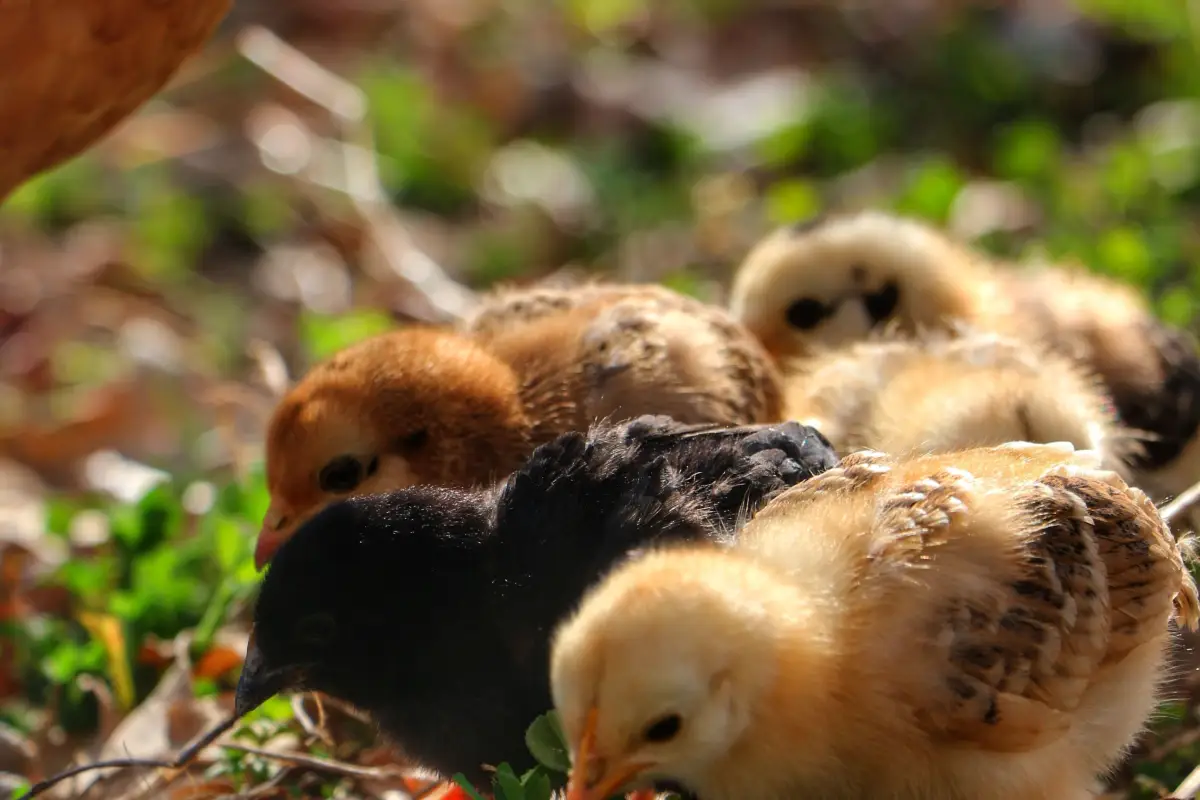
Extension-Approved Waterer Setup for Healthy Chicks
A chick waterer sitting on the floor is a drowning trap and a fecal soup waiting to happen. University of Kentucky extension lays it out plainly: raise the lip to the smallest chick’s back height—1 to 1.5 inches off the bedding for day-olds. That one adjustment stops most drowning deaths and keeps coccidiosis and pasty butt from taking hold.
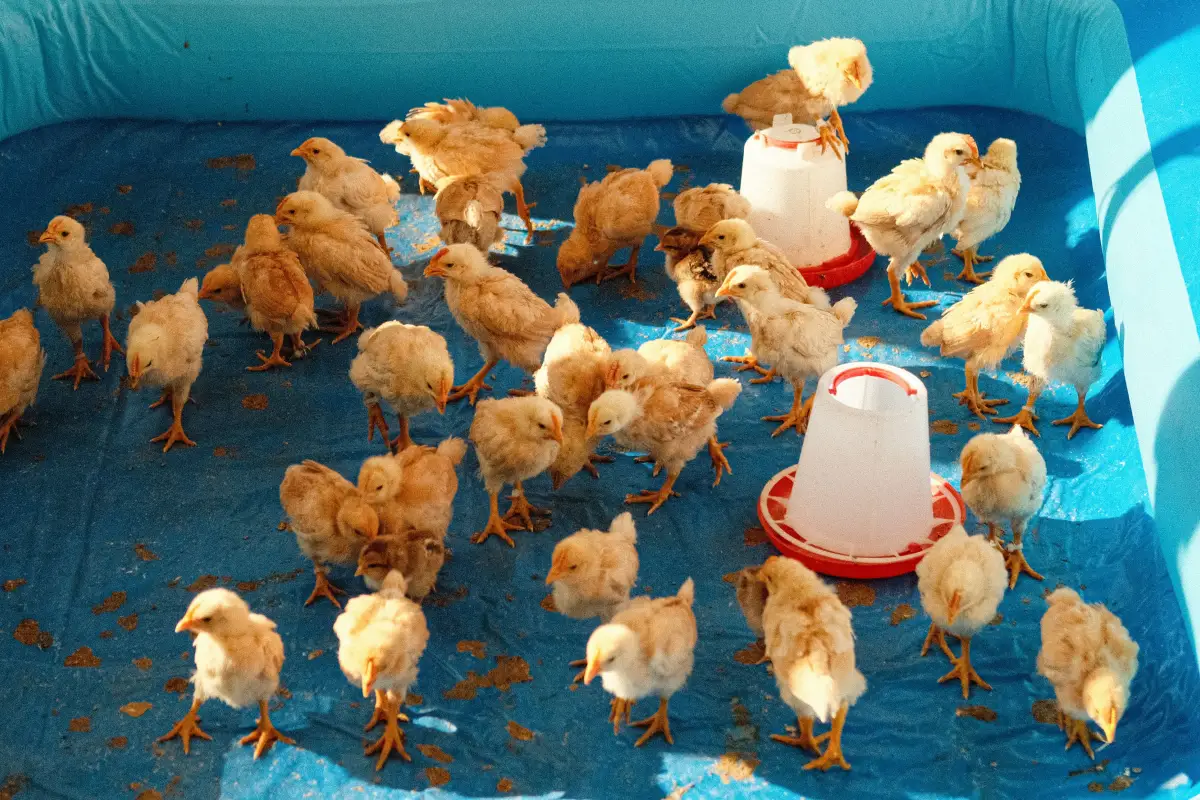
Gather the Waterer, an Adjustable Support, and a Ruler
Before chicks arrive, collect the items that make extension-recommended height work from day one:
- Chick waterer — A fountain, nipple, or cup drinker built for baby poultry. Open dishes are trouble. University of Kentucky’s Poultry Production Manual calls for a 1-quart fountain per 25 chicks.
- Elevation material — Clean wood blocks, bricks, or pavers you can add and swap weekly. For hanging waterers, get a chain, S-hooks, and a crossbar or eye-hook.
- Ruler or tape measure — A rigid ruler makes checking lip height quick and repeatable.
- Clean water — Room-temperature chlorinated water or tested well water; cold water chills chicks fast.
- Brooder bedding — Pine shavings or equivalent at 2–4 inches deep so the waterer sits above any dips.
Step-by-Step Height Adjustment
1. Assemble and Sanitize Your Waterer Before Chicks Arrive
Hit every surface—base, jar, nipples, cups—with a mild bleach solution (1 tablespoon per gallon) or a poultry disinfectant. Rinse until you can’t smell bleach and let it air dry. Biofilm buildup is where E. coli thrives, and you don’t want that in a brooder. Fill it completely before placing it so thirsty chicks drink right away.
2. Measure Chick Back Height and Set the Target Lip Height
Stand a day-old chick on a flat surface and measure from the surface to the top of its back, just behind the wings. Most breeds land at 1–1.5 inches. University of Kentucky and similar extension programs (like UF/IFAS Small Poultry Flock Guide) are explicit: the waterer lip must sit exactly at this measurement above the litter. Growth is fast—by week 2 target 2 inches, by week 4 bump it to 3–4 inches. Always measure the smallest bird; the runts set the height for the whole group.
3. Elevate the Waterer Using Blocks or a Hanging Hook
Set the filled waterer on the chosen support so the lip hits that measured back height. A 2×4 block under a fountain works for day-olds; stack as they grow. For hanging models, adjust the chain until the lip is level and at the target height. The support must be stable. A wobbly waterer spills, wet litter follows, and coccidiosis moves in overnight.
4. Position the Waterer Away from Heat Lamps and Drafts
Keep the waterer on the cool side of the brooder, well outside the heat lamp’s direct reach. Heat raises water temperature past what chicks tolerate, speeds evaporation, and concentrates minerals into a crusty lip. Chicks avoid warm water, dehydration sets in, and the resulting wet litter underneath feeds ammonia and respiratory stress.
5. Check and Raise the Waterer Every 3–5 Days
Chicks don’t grow on your schedule. Measure the smallest bird’s back at least twice a week and adjust. A waterer that’s too low drowns or contaminates; one that’s too high starves them of water. A daily glance at lip height and water clarity keeps the setup lethal-proof.
Common Mistakes That Undo Extension Guidance
Waterer Lip at Floor Level Invites Drowning and Contamination
Leaving the waterer base on the litter is the most common error and the easiest to fix when you know the danger. Chicks step—or fall asleep—in the water, get chilled, and drown. Fecal matter from the litter washes straight into the drinking water, spreading coccidia and bacteria. Extension guidance is clear: no height, no protection. Raise it from day one.
Setting the Lip Too High So Chicks Can’t Reach the Water
Overcorrection creates a new problem. When the waterer is too high, chicks stretch or jump to drink, consume less water, and grow slowly—or dehydrate entirely. If birds cluster around the waterer pecking above the lip, they’re telling you it’s too high. Get the ruler, not your eye, to match the extension’s back-height rule.
Failing to Adjust Height as Chicks Grow
One height for the whole brooding period doesn’t work. A 1-inch lip is right for day-olds but dangerous by day 10 because the birds are larger and can still get feet in. Extensions like Kentucky’s call for weekly adjustments; during periods of rapid growth, recheck every 3 days.
Using Waterers with Wide-Open Troughs That Collect Droppings
Galvanized troughs and makeshift pans expose too much surface. Even elevated, they let chicks scratch litter into the water and allow direct contamination when birds perch. Chick-specific fountains with narrow drinking rims and nipple systems are engineered to limit that exposure while staying at the correct height.
Placing the Waterer Directly Under the Heat Lamp
Heat evaporates water fast, the lip crusts with minerals, and the water turns unappealingly warm. Chicks avoid it. More trouble comes when the constant moisture under the waterer breaks down litter and spikes ammonia—respiratory stress follows. Move the waterer to the coolest corner of the brooder.
How Height Rules Change with Nipple and Cup Drinkers
Nipple Drinkers: Eye Level, Not Back Height
Extension rules flip for nipple systems. Set the nipple at the chick’s eye level—about 2–2.5 inches for day-olds—so they see and peck the trigger naturally. Raise it as birds grow, keeping it at head height for a standing bird. Nipple drinkers eliminate open water, so drowning risk vanishes and fecal contamination drops to near zero when the system stays clean.
Cup Drinkers: Trigger at Beak Height
Cup drinkers need the rim positioned so chicks can dip their beak without stretching. Roughly 1.5–2 inches works for the youngest chicks. The cup itself should be small to minimize the open water surface. Check that triggers aren’t so stiff weaker chicks can’t operate them; replace them if they resist.
Hanging Adjustments for Fountain Waterers
Hanging a fountain simplifies height changes to a chain adjustment. Attach it securely so the waterer hangs level. It’s faster to dial in the exact back-height measurement, and you eliminate the risk of a block toppling when chicks bump the waterer.
Frequently Asked Questions
How high should a chick waterer be at 1 week old?
At one week, the smallest chick’s back height is typically around 2 inches. Raise the waterer lip to 2 inches above the litter so chicks drink standing flat-footed.
Can I use a regular chicken waterer for baby chicks?
A full-sized poultry fountain usually has a lip too high for chicks, and the deeper trough increases drowning risk. Stick with a chick-specific waterer for the first 6–8 weeks, then switch when the smallest bird can comfortably reach the drinking edge.
What’s the best waterer type to prevent drowning?
Nipple drinkers have zero standing water, so drowning risk is virtually nonexistent. Extension sources rate them highest for safety and water quality after chicks learn to use them. Cup drinkers come next, exposing only a small amount of water.
How do I keep bedding out of the waterer?
Raise the lip to back height, then add a coarse wire platform beneath the waterer. Spilled moisture falls through, and litter kicked onto the wire stays out of the drinking water. The platform also keeps the area drier.
When should I switch to an adult waterer?
Transition when the smallest chick’s back reaches a height where it can drink from the adult waterer without stretching—usually 6–8 weeks for standard breeds, often right when they move to the coop.
Next: Keep the Entire Brooder Running on Evidence
Your waterer is now set to the height University of Kentucky and other extension services recommend—drowning and fecal contamination aren’t daily threats anymore. Clean, reachable water supports steady growth. Next, confirm brooder temperature holds 95°F at chick level for the first week and drops 5°F each week after. That’s the other half of the extension-backed brooding protocol. Then apply the same measure-and-adjust approach to feeder height and litter depth, and you’re running a low-stress, disease-resistant brooder.