The Complete First-Time Chicken Keeper’s Brooder Setup Guide
A chick brooder that works from day one integrates six components in a specific sequence: a pre-heated space at the correct gradient, safe bedding, easily accessible water, starter feed, a lighting schedule, and deliberate first-48-hour observation. This guide walks through each component using university extension standards to build a system that prevents chilling, dehydration, and pasty butt.
The Four Interconnected Systems That Make or Break a Brooder
A brooder is a small, engineered environment. Four systems must stay in balance: heat, floor comfort and hygiene, water and feed access, and the light and air environment. When one fails, the others cascade quickly.
- Heat: without a temperature gradient from 70°F to 95°F at the warmest point, chicks either huddle and chill or pant and dehydrate.
- Floor comfort and hygiene: bedding that is too slippery, too dusty, or stays wet leads to leg problems, respiratory irritation, and coccidiosis pressure.
- Water and feed access: if chicks cannot locate water within the first hour, dehydration starts; if feed is too coarse or placed in a chilly corner, intake drops.
- Light and air: constant bright light disrupts rest; ammonia accumulation from urine-soaked bedding damages respiratory tissue.
The sequence below treats each component as a step in a single interdependent chain—not a checklist of isolated tasks.
Step 1: Prepare a Clean, Dry Brooder Container
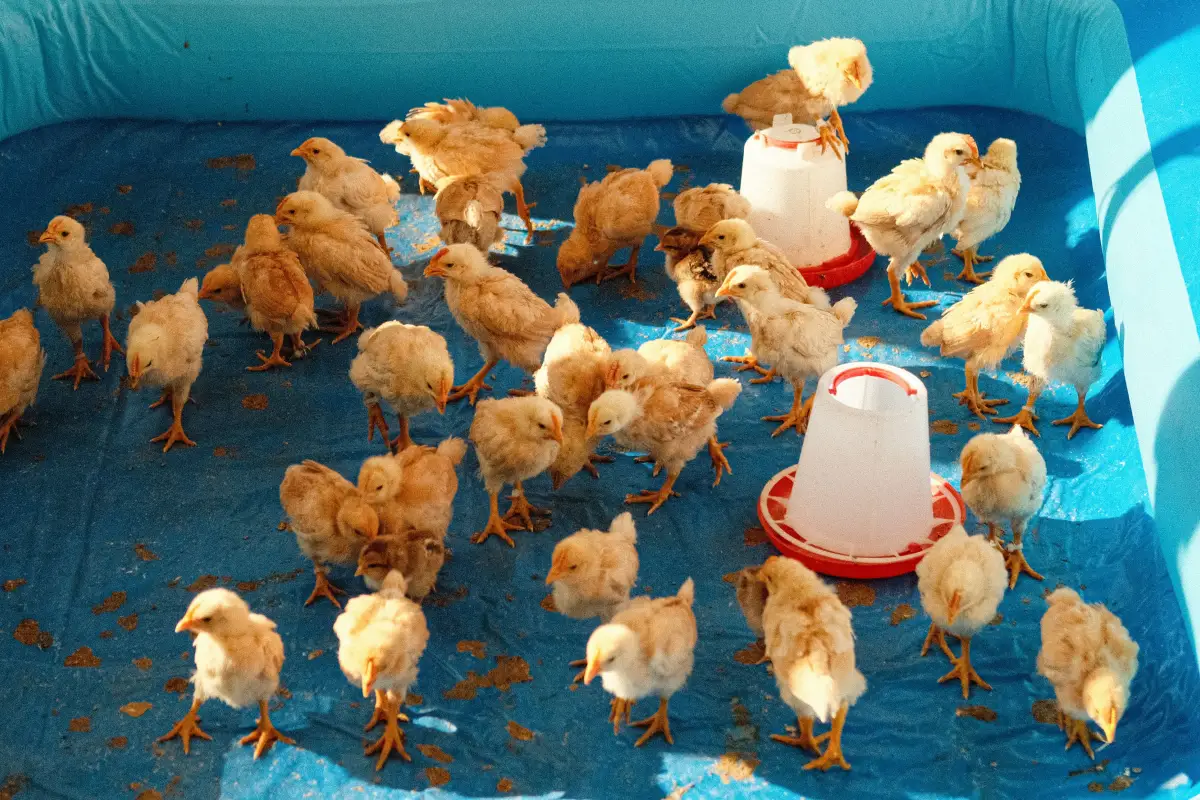
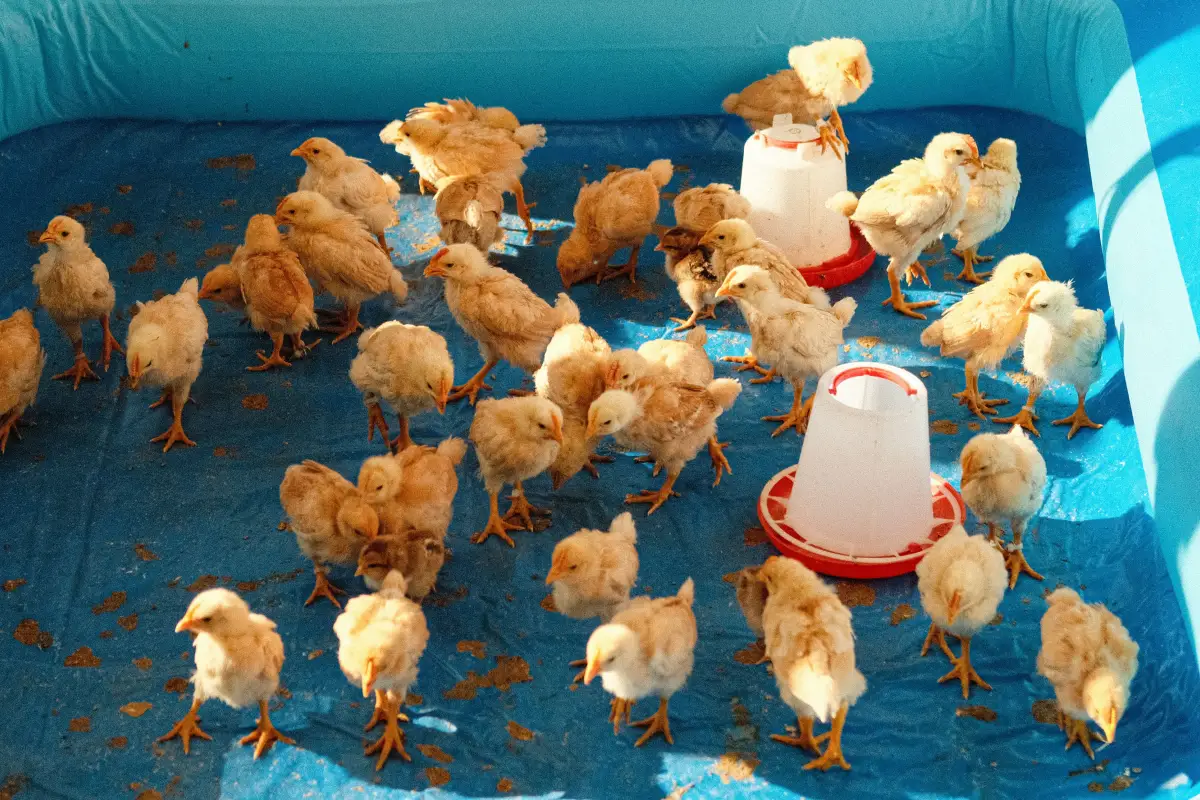
Use a container with solid sides to block drafts: a large plastic storage tote, a galvanized stock tank, or a well-built wooden box with a wire lid. Size it for a minimum of 0.5 square foot per chick for the first two weeks, increasing to 1 square foot by week four. These space allowances appear consistently in land-grant extension guides because crowding triggers stress, feather picking, and disease.
Sanitize the container with a solution of one part plain household bleach to ten parts water. Rinse thoroughly and let it dry completely. Residual organic matter from a prior hatch can carry pathogens. Place the container in a draft-free indoor area—a spare room, garage, or basement—where you can control ambient temperature and observe the chicks without exposing them to household traffic or predators. A cold draft through a window can override a well-placed heat source.
Done well, the brooder container is sterile, bone-dry, and positioned for frequent, calm observation.
Step 2: Heat the Brooder to the Right Temperature Before Chicks Arrive
Chicks cannot thermoregulate for the first few weeks; they depend entirely on an external heat source. Extension publications set the starting point at 95°F at chick height during week one, dropping by 5°F each week until the chicks are fully feathered.
Install your heat source—a 250-watt infrared heat lamp firmly suspended with a chain and a secondary safety wire, or a radiant heat plate—and run it for a full 24 hours before the chicks arrive. This pre-heat stabilizes the floor temperature and eliminates cold spots. Place a digital or good-quality analog thermometer at chick level directly under the heat, and another at the cool end of the container. The gradient should read roughly 95°F at the warm zone and 70°F at the cool zone. A heat plate, adjusted in height according to the manufacturer’s chart, gives chicks a warm spot to press against; a lamp produces a circular warm zone but needs precise height tweaking to avoid scorching bedding or creating an unusably cold rim.
Done well, the brooder has a verified, stable temperature gradient a full day before any chick enters it.
Step 3: Lay Down Bedding That Supports Leg Health
Bedding is functional, not decorative. It must provide absorbency, traction, and mild insulation. University extension sources consistently recommend large-flake pine shavings as the most reliable material. Do not use cedar—the aromatic oils irritate respiratory tissue. Avoid newspaper, cardboard, or other slick surfaces that cause splayed legs, and avoid fine sawdust, which is too dusty.
Spread the shavings 3 to 4 inches deep. This depth cushions developing legs and holds moisture away from the surface long enough for you to spot-clean wet patches. Remove heavily soiled areas twice daily the first week; ammonia from decomposing droppings is a potent respiratory irritant that predisposes chicks to airsacculitis. Your nose should not detect any ammonia at chick level.
Done well, the floor feels dry, slightly springy, and emits no detectable ammonia smell.
Step 4: Set Up Water and Feed Stations for Immediate Access
Place a clean waterer filled with fresh, lukewarm water away from the direct heat to prevent rapid warming and discourage chicks from resting in the drinker area. During the first few hours, extension resources often suggest an electrolyte and vitamin supplement to offset shipping stress, though plain water is sufficient for vigorous chicks. Dip each chick’s beak in the water as you unbox them so they learn the location.
Use a shallow chick feeder tray offering a 20–22 percent protein starter crumble. Refill it twice daily to keep feed fresh. Position feeders and waterers on opposite sides of the brooder to promote movement across the entire space, but not directly under the hottest part of the heat source. The layout should allow a chick to travel from warmth to feed to water and back without crossing a cold draft or a wet patch.
Done well, every chick drinks within the first hour and begins pecking at crumbles soon after.
Step 5: Program a Lighting Schedule That Encourages Eating and Rest
Newly hatched chicks need light to find food and water, but they also require dark periods for melatonin release and musculoskeletal development. Run the light for 24 hours the first two days to give maximum feeding time after transport stress. After that, switch to an 18–20 hour light, 4–6 hour dark cycle. A simple timer on a red or infrared bulb provides warmth and dim light during the dark phase without disrupting sleep as bright white light would.
Aim the brightest part of the brooder over the feed area, not over the resting zone. Extension notes indicate that bright, constant white light can provoke pecking and restlessness, while red or green bulbs tend to reduce cannibalism.
Done well, chicks settle into a predictable rhythm: active feeding under light, then quiet rest under the heat plate or within the warm circle during the dark phase.
Step 6: Observe and Adjust During the Critical First 48 Hours
For the first two days, check the brooder at least every three hours. Look at chick behavior, not just the thermometer. Chicks distributed evenly around the warm and cool areas, making soft chirps, are comfortable. Chicks huddled directly under the lamp and peeping loudly are cold—lower the lamp or adjust the plate. Chicks pressed against the walls, panting, are too hot—raise the heat source. Check each chick’s vent for pasty butt (dried droppings blocking the vent) and gently clean any affected bird with a damp cloth immediately, because an obstructed vent can kill a chick in a matter of hours.
Remove wet bedding, refill water, and note which birds are eating steadily. The first 48 hours account for most early losses from failure to start eating, chilling, or infection. A clean, attentive setup catches these problems early.
Done well, the brooder becomes a stable, self-regulating system where behavioral signals confirm the hardware is working.
How This Sequence Worked for a First-Time Keeper with 4 Chicks
Consider a family receiving four day-old Rhode Island Reds in a 50-gallon plastic tote placed in a heated mudroom. They chose a radiant heat plate to lower fire risk and promote natural resting.
Following the sequence, they sanitized the tote with bleach solution the afternoon before pickup, set the heat plate on two bricks to form a low tunnel, spread 4 inches of pine shavings, and filled the waterer with room-temperature water containing a vitamin-electrolyte mix. They ran the heat plate for 24 hours and verified a floor temperature of 95°F under the plate with an infrared spot thermometer, 72°F at the far end. On chick day, they dipped each beak, watched all four drink within 10 minutes, then peck at crumbles scattered on a paper plate beside the feeder tray. By day three, the red brooder light timer was set to 20 hours on, 4 hours off. At the one-week mark, they raised the plate height one notch to drop the warm-zone temperature to 90°F. Chicks spread evenly, slept soundly, and had zero pasty butt. The scenario played out predictably because the integrated sequence left no link broken.
Where People Break the Setup Sequence
Pre-Heating Is Skipped—Chicks Arrive Cold and Huddle
Turning on the heat source only after bringing the chicks home leaves the brooder floor cold for hours. Chicks pile up frantically, and the weakest become too chilled to eat or drink. Dehydration sets in within 12 hours, and early mortality climbs. Pre-heating is the first active step in the chain; omit it and every other step suffers.
Bedding Depth Is Cut Short—Wet Litter Encourages Coccidiosis
Using only an inch of shavings creates a thin, rapidly wet layer where droppings contact the container floor directly. Moisture and warmth accelerate coccidia oocyst sporulation. Extension literature consistently links deep, dry litter with reduced disease pressure. Shallow bedding forces frequent full cleanouts and raises the pathogen load.
Water and Feed Stations Are Moved Too Often—Chicks Get Confused
Rearranging feeders and waterers daily to chase mess disrupts learned locations. Chicks that have imprinted on a spot take hours to find moved resources, especially in the first week. Place stations deliberately at the start and make only minor, gradual adjustments when you expand the brooder footprint.
Quick Reference: Brooder Setup Sequence at a Glance
| Stage | Goal | Key Action |
|---|---|---|
| 1. Container preparation | Clean, draft-free enclosure | Bleach sanitize, dry, place in indoor area |
| 2. Heat source and temperature | 95°F gradient, verified before arrival | Pre-heat 24h, use two thermometers |
| 3. Bedding | Absorbent, slip-resistant floor | 3-4 inches pine shavings, no cedar |
| 4. Water and feed | Immediate hydration and balanced nutrition | Lukewarm water, 20% starter crumble, beak dipping |
| 5. Lighting | Sufficient daytime to feed, night rest | 24h for days 1-2, then 18-20h with dim period |
| 6. First 48-hour monitoring | Confirm thermal comfort and feed intake | Check behavior and vents every 3 hours |
Frequently Asked Questions About Chick Brooder Setup
How long do chicks need a heat lamp?
Chicks require a regulated heat source until they are fully feathered, typically 5 to 6 weeks. The temperature starts at 95°F the first week and drops by 5°F each week. In a warm indoor room, the lamp may be shut off earlier. Use chick behavior—huddling or spreading out—as the final guide rather than an arbitrary date.
Can I put the brooder in the garage and what temperature is safe?
Yes, provided the garage stays above 50°F ambient and the brooder itself is draft-free and closely watched. A cold concrete floor radiates chill that a plastic tote cannot block; insulate underneath with a thick rubber mat or wooden pallet. Monitor behavior carefully during overnight temperature swings.
When should I move the chicks from the brooder to the coop?
Transition chicks outdoors once they are fully feathered and daytime lows stay above 65°F, typically at 5–6 weeks. Delay further if nights are cool. Acclimate them by moving the brooder container into the secured coop for a few afternoons before removing heat, so they adjust to sounds and walls.
What bedding is best for baby chicks?
Large-flake pine shavings are the standard. They absorb well, provide traction, and generate little dust. Cedar shavings are contraindicated; newspaper, slick cardboard, and moldy straw also cause problems. Coarse washed sand is a secondary option but demands a scrupulously clean water station to prevent crop impaction.
Do chicks need light at night?
After the first two days, chicks need a dark period for rest and development. A red or infrared bulb provides low-light warmth during the dark phase without disrupting sleep. A simple timer automates the 18-20 hour light, 4-6 hour dark cycle.
Start with a Sanitized Container and a Verified Temperature
The entire brooder system rests on a single integrated sequence: prepare a clean space, pre-heat it to the correct gradient, establish deep bedding, make water and feed instantly accessible, set a light schedule that respects biological rhythms, and observe relentlessly through the first two days. If you are assembling your first brooder today, begin with Step 1 and Step 2—sanitize your container and start the heat source now, so it is stable long before the chicks arrive.