The Brooder Cleaning Habit Spreading Disease in Your Flock
Frequent wet mopping or hosing the brooder floor is a cleaning habit that spreads disease. It pushes humidity up, forces coccidia oocysts to sporulate, and releases ammonia gas that damages chicks’ respiratory systems faster than many flock owners realize. The dry-litter method—adding fresh, absorbent bedding on top and removing only the worst spots—keeps the brooder dry, cuts pathogen loads, and produces a healthier flock from the start.
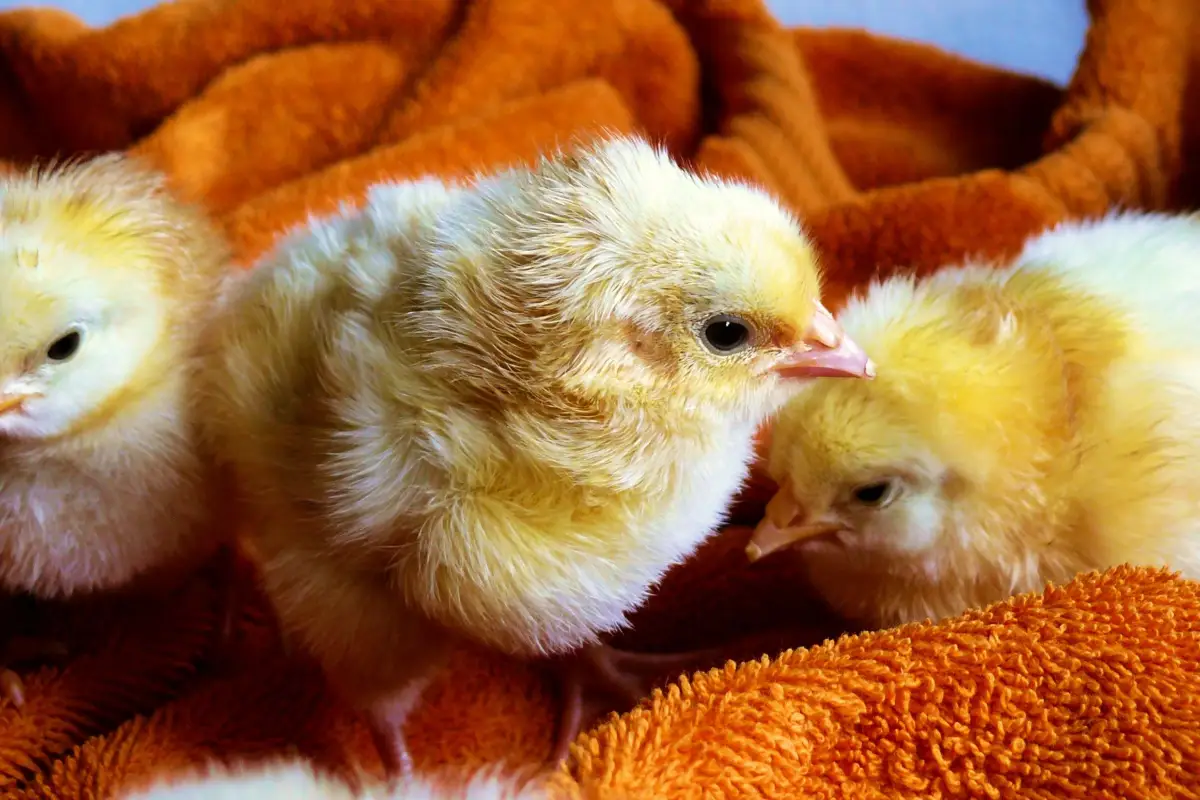
What a Dry-Litter Brooder Achieves
A brooder managed with the dry-litter method will have a floor that feels like a soft, crumbly mat. No sharp ammonia smell hits the nose at chick level—just the mild, dry scent of pine shavings. Chicks move easily, breathe without irritation, and show steady, even growth.
The Complete Dry-Litter Cleaning Checklist
- Start with a deep layer of absorbent bedding (4 to 6 inches)
- Spot-clean only the areas that are wet or visibly soiled each day
- Top-dress with an inch of fresh bedding instead of fully replacing litter
- Check all waterers for leaks and raise them to reduce spills
- Sniff-test the brooder at chick level daily for ammonia
- Ventilate the space steadily without creating a direct draft on chicks
- Remove any caked-on bedding under the waterers immediately
- Keep spare, dry bedding on hand to reinforce thin spots
Breaking Down Each Step
Start with 4–6 Inches of Pine Shavings
Large-flake pine shavings go into the brooder at a depth of at least four inches. That thickness absorbs droppings and moisture, keeping the surface dry underfoot. Spreading the bedding takes only minutes. The most common failure is using a thin layer—by day three, it turns into a slick, ammonia-soaked paste that overwhelms chicks’ respiratory defenses.
Spot-Clean Wet or Caked Bedding Daily
Use a small scoop or a gloved hand to remove any bedding that is wet, caked, or stuck to the floor. The job takes under five minutes per brooder. The mistake people make is waiting until the whole surface looks dirty, by which time ammonia has built up and coccidia oocysts have already sporulated. Daily spot-cleaning interrupts that cycle before it gains momentum.
Add Fresh Litter on Top Instead of Full Replacement
Once a day, or every other day at higher stocking densities, an inch of fresh shavings goes on top of the existing litter. This dries the surface and buries older droppings—coccidia need oxygen to sporulate, so burying them helps. The dangerous error is a full muck-out followed by hosing the floor. That floods the brooder with moisture and destroys any dry litter dynamic that had begun to form.
Prevent Water Spills from the Start
Waterers belong on a platform or hung at chick shoulder height—low enough to reach, high enough to minimize splashing. A drip tray underneath catches small leaks. Spills are the top reason brooder litter gets wet, so preventing them saves far more time than any cleanup routine. The frequent mistake is filling waterers to the brim and setting them directly on the shavings, which creates a constant wet zone.
Monitor Ammonia with Your Nose
Crouch down to chick level every day and take a slow inhale through the nose. A sharp, stinging ammonia smell means ventilation must increase or more dry litter must go down. Acceptable levels stay below 10–15 parts per million, where ammonia is barely detectable. The classic misstep is judging from adult standing height; ammonia is much less concentrated there, so chicks can suffer damage long before a person notices the odor.
Ventilate Without Creating a Draft
Crack a window, use a small fan to move air across the top of the brooder, or adjust room vents so stale air exits without blowing directly on the chicks. Good air exchange carries moisture and ammonia out. Many keepers seal the brooder completely to hold heat, trapping humidity and gases. Even a slight, steady airflow makes a measurable difference.
Remove Caked-on Bedding Under Waterers Immediately
If a waterer dumps, scoop out the soaked bedding right then—do not wait for the next day’s routine. Caked material acts like a wet sponge, releasing ammonia for hours. The common pitfall is sprinkling dry shavings on top without removing the soggy base, which only hides the problem.
Keep Spare, Dry Bedding On Hand
Store an extra bag of shavings near the brooder so a top-dress can happen without hesitation. When ammonia creeps up or the litter feels tacky, add a layer immediately. The mistake is running out and then resorting to a water-heavy clean because dry bedding wasn’t available.
Final Verification Before You Walk Away
- Litter feels dry and crumbly, not slick or spongy
- Ammonia smell is absent or barely detectable at chick level
- Bedding depth is still 3 inches or more after spot-cleaning
- Waterers are spill-free and at the correct height
- Air is moving gently through the space without chilling the chicks
Printable Quick-Reference Guide
Daily: Spot-clean wet spots, sniff for ammonia, top-dress with fresh shavings if any moisture is present. Inspect waterer for leaks. Remove caked bedding under water source.
Every 2–3 days: Add a 1-inch layer of dry shavings across the whole brooder. Check litter depth; add more if below 3 inches.
Never: Hose the brooder floor while chicks are in it. Scrub with soapy water and bleach only during a full, between-flock disinfection after removing all birds and letting the space dry completely.
Frequently Asked Questions About Brooder Dry Litter
Can I use sand instead of pine shavings?
Sand can serve as brooder bedding, but it absorbs ammonia less effectively than pine shavings and holds heat poorly. If used, it still demands the same dry-litter practices: spot-clean wastes and never wet-clean while chicks are present.
How quickly does ammonia damage chicks’ lungs?
Ammonia above 25 parts per million can irritate respiratory tissue within hours. Prolonged exposure weakens immune response, leaving chicks more susceptible to respiratory disease and coccidiosis.
What if I see signs of coccidiosis even with dry litter?
Coccidiosis can appear in any brooder, though dry litter slows its spread. Bloody droppings, lethargy, or ruffled feathers warrant immediate veterinary consultation and isolation of sick chicks. The dry-litter method cuts oocyst buildup but does not eliminate risk entirely, especially under heavy stocking.
Won’t a thorough wet cleaning kill more pathogens?
Wet cleaning removes organic matter, but it leaves moisture that helps the remaining pathogens—including coccidia oocysts that resist many disinfectants—multiply. A dry-litter program keeps the brooder at a moisture level where most pathogens struggle to survive, day after day, without chemical shock.
Keeping the Brooder Dry for the Long Haul
The result is a brooder where chicks walk on a soft, absorbent mat and breathe clean air. The daily scrub-and-hose habit has been replaced with a few minutes of spot-cleaning and a sniff test. To speed up the routine next time, pre-fill a small bin with fresh shavings and keep it beside the brooder so a top-dress takes only seconds.