Why Most Chick Care Checklists Miss the One System That Works
Chick care checklists fail because they list heat, ventilation, and sanitation as separate line items. The brooder is a single loop: temperature changes the air’s capacity to hold moisture, which shifts ventilation demand; ventilation removes ammonia and humidity but also cools; and litter moisture feeds back into ammonia production and disease risk. Manage one variable in isolation, and the others shift predictably—often producing symptoms that look like separate problems. The system that most checklists miss is managing that loop as a whole, making each adjustment with its effect on the other two elements in mind. Once that framing clicks, brooder management stops being a sequence of reactions and becomes a cause-and-effect process you can predict.
Three Starting Points That Expose the Checklist Flaw
Identify the situation that matches your setup, then follow the path through the article. Each scenario demonstrates why a disconnected list of tasks produces avoidable problems.
Situation 1: The First-Time Keeper with a Heat Lamp and a Cardboard Box
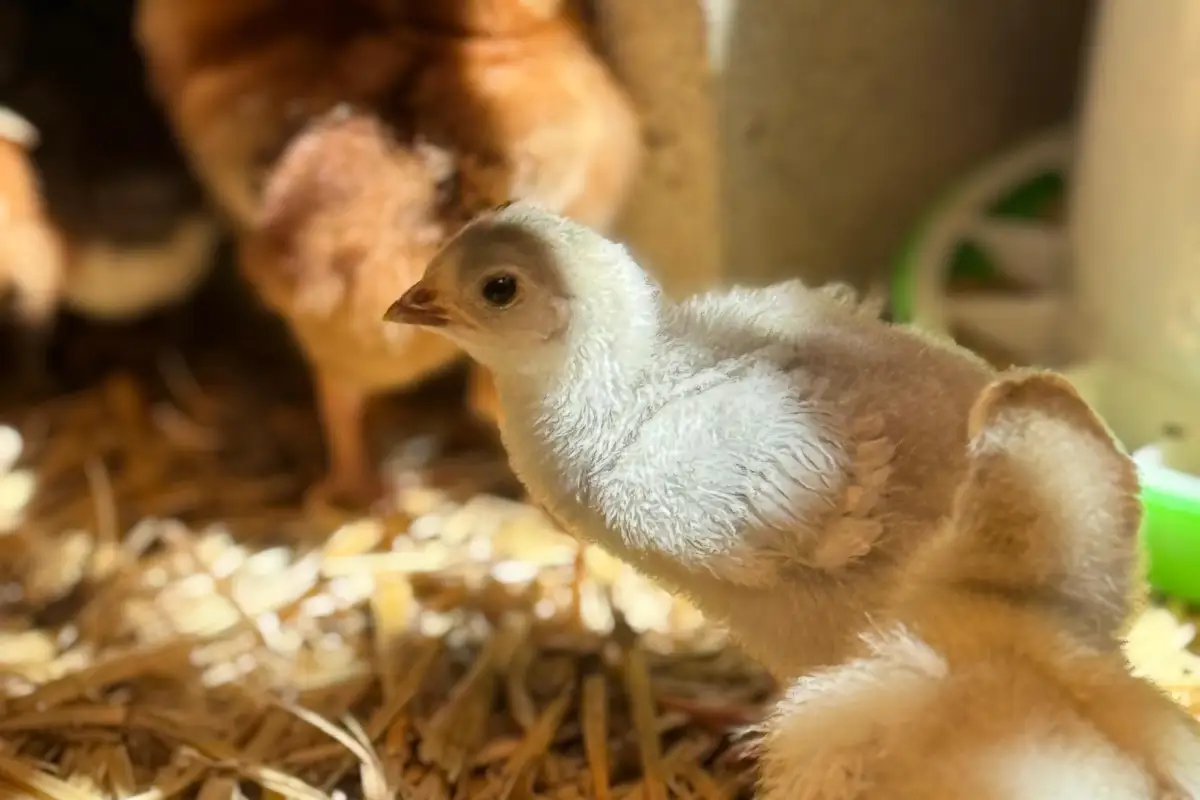
A heat lamp at one end, pine shavings on the floor, a temperature chart followed exactly—yet chicks huddle in a corner or pant directly under the lamp. The checklist provided a number but no method for reading the system. Your route: learn to treat chick distribution as a real-time signal that integrates heat, drafts, and litter comfort in one glance.
Situation 2: The Careful Planner Who Still Loses Chicks
Equipment is correct, the brooder is kept clean, and a daily routine is in place. Despite that, pasty butt or raspy breathing appears in a few chicks. The checklist covered what to do but never linked ventilation to the moisture load from drinkers and droppings. Your route: design a ventilation setup that removes excess humidity without creating floor-level drafts, and use litter moisture as a direct feedback gauge instead of guessing.
Situation 3: The Experienced Keeper Facing a Stubborn Problem
Straggly leg issues, uneven growth, or a lingering smell that defies cleaning. The pieces look right individually but something is misaligned. Your route: map the feedback loops that connect heat stress, ammonia, and immune load, then trace recurring problems—such as coccidiosis—back to the ventilation-sanitation connection rather than treating them repeatedly.
Building the Brooder System in Three Stages
The progression below moves from isolated adjustments to a self-regulating environment. Each stage states one aim, the concrete actions that achieve it, and the observable sign that the system is stable enough to move forward.
Stage 1: Set Up Heat and Ventilation as a Linked Pair
Aim: Establish a stable thermal gradient while removing moisture and stale air without creating a draft at floor level.
Actions
- Position the heat source at one end of the brooder. Whether it is a radiant lamp, a brooder plate, or a ceramic emitter, the critical factor is a distinct warm zone and a cooler zone at the opposite end. In a 4-foot brooder, a 250-watt lamp hung about 18 inches above litter typically produces a gradient of roughly 95°F below the lamp down to 75–80°F at the far end, but chick behavior, not a fixed number, determines the final height.
- Place a ventilation opening at the top of the cool end. Warm air rises, so a small gap above the farthest point from the heat source lets stale, moist air exit without pulling a draft across the floor. Even a cardboard brooder needs a partial cover with an elevated gap; a solid lid traps humidity.
- Add a low fresh-air inlet on the heat-source side, covered with hardware cloth. Cool outside air enters near the lamp, warms, and flows upward, feeding a passive convection current that continuously exchanges the air volume without a fan.
Readiness sign: Chicks spread across the entire brooder floor during both day and night. You observe individuals resting in the cooler zone, some close to the lamp, and none are panting or piled. Litter in the cool zone feels barely damp, never wet, and no ammonia odor is detectable when you lower your head to chick level for five seconds.
Stage 2: Design a Waste and Moisture Feedback Loop
Aim: Turn sanitation into a continuous monitoring process that signals when the heat-ventilation balance needs adjusting, rather than following a preset bedding-change schedule.
Actions
- Use pine shavings at a depth of at least 2 inches. The structure wicks moisture downward, keeping the surface drier than straw or paper. Maintain enough depth that after compaction you still have roughly an inch of shavings underfoot.
- Assess litter condition daily with a simple palm test: press a dry palm on the surface for three seconds. If moisture is felt, the system is holding too much humidity. Check two things before changing bedding: first, look for a tipped or leaking waterer; second, examine ventilation openings to see if one closed or outdoor humidity rose sharply. Adjust ventilation first, then spot-clean litter if needed.
- Place waterers on a slightly raised platform—a tile or board—to keep spilled water from soaking directly into shavings. Nipple drinkers reduce surface moisture further, but even with a traditional waterer, elevating it limits the wetted area to a zone you can dry more easily.
- Remove only the worst wet spots daily and add a thin layer of fresh shavings on top. Avoid total litter changes too early; they remove the developing microbial community that can suppress pathogens. If ammonia becomes detectable despite ventilation corrections, a more thorough change is then justified.
Readiness sign: Three consecutive days pass with no ammonia smell at chick level and no dampness on the palm test, even within 12 hours of topping off drinkers. Chicks exhibit normal preening and dust-bathing, indicating a dry, comfortable litter surface.
Stage 3: Tune the System for Growth and Seasonal Changes
Aim: Adapt the heat-ventilation-sanitation loop as chicks grow and outdoor conditions shift, without destabilizing the environment.
Actions
- Reduce heat output incrementally—lowering the under-lamp temperature by about 5°F per week. Record trends with a thermometer, but let chick distribution remain the primary decision driver. A sudden return to crowding under the lamp signals a possible draft from a new opening or a window left open, not simply a need for more heat; investigate airflow before adjusting lamp height.
- Increase ventilation as chicks’ metabolic rate rises. By week three, a 4-foot brooder may require a larger top vent or a small adjustable side opening. In summer, a box fan placed several feet away and angled to pull air off the top of the brooder can increase exchange without blowing directly on chicks. In winter, reduce the inlet size to maintain the same air turnover while limiting heat loss.
- Adjust litter depth for the season: start with 3 inches of shavings in high humidity to delay surface dampness; in very dry conditions, a light mist of water on the litter can suppress dust without wetting the surface.
- Watch for signs that the sanitation loop is overloaded: ammonia returns quickly after litter changes, chicks show dirty vents, or sneezing increases. When those appear, permanently enlarge ventilation capacity—add a second outlet or widen the existing one—rather than relying on more frequent bedding changes.
Readiness sign: Chicks maintain even distribution across the brooder through day-night temperature swings. Litter stays dry with once-daily spot cleaning. You can predict the effect of a forecasted weather shift on the brooder environment and make proactive ventilation adjustments before chicks show stress.
The Checkpoints That Signal Forward Movement
The readiness signs from each stage, collected in order. When a checkpoint holds for at least 48 hours, the system is stable enough to add the next layer.
- Stage 1: Chicks spread across the full brooder floor, not huddled, not panting. No ammonia smell at chick level.
- Stage 2: Three consecutive days without ammonia odor or palm-test dampness. Chicks dust-bathe and preen normally.
- Stage 3: Chicks maintain distribution through day-night temperature swings. Litter stays dry with spot cleaning. Ventilation adjustments occur before chicks show distress during weather changes.
Three Worries You Can Safely Defer
New keepers receive advice about every possible disease and fine-tuned parameter. Several of those items are not immediate concerns, and premature action on them can disrupt the system.
Pasty Butt Prevention as a Daily Search
Checklists routinely advise inspecting every chick’s vent daily and applying oil or warm water at the first sign of buildup. In a correctly functioning system—dry litter, proper temperature gradient, no crowding—pasty butt is rare. If the system is still stabilizing, focus on the heat-ventilation-litter balance instead of repetitive vent checks. When that balance holds for a week, pasty butt stops appearing randomly. Trigger for concern: More than one chick shows a dirty vent within 24 hours and the palm test returns moisture. Only then intervene; until then, trust the system.
Exact Relative Humidity Measurements
A target of 50–60% relative humidity leads beginners to add humidifiers or wet sponges that create localized dampness and bacterial growth. Chick comfort is determined by the combined moisture in air and litter, not by a single hygrometer number. Use the palm test and ammonia detection as primary gauges. Trigger for concern: A hygrometer becomes useful in extremely dry climates—below 20% indoor relative humidity—where chicks show irritated, dusty eyes despite a dry palm test. Then add moisture by placing a shallow water pan under the heat source, never by misting litter. Otherwise, let litter feedback guide you.
Coccidiosis Prevention with Medicated Feed
Many starter feeds contain amprolium, and many checklists mandate it from day one. In a brooder that stays dry and where litter never becomes damp, coccidiosis pressure stays low. Amprolium can suppress thiamine uptake in very young chicks; in a well-managed system, the risk of clinical coccidiosis before the birds move onto soil is minimal. Trigger for concern: If chicks will be placed on outdoor soil or a dirty run before four weeks of age, or if the moisture test repeatedly fails despite ventilation and waterer corrections, then medicated feed becomes worth considering. In a stable, dry indoor brooder, it rarely determines outcomes.
Questions That Surface When You Start Seeing the System
Why are my chicks staying under the heat lamp even when the thermometer says it’s warm enough?
Chicks avoid cooler areas for two main reasons beyond temperature: a floor-level draft chills them, or the litter in the cool zone feels damp and cold underfoot. Hang a strip of tissue paper at chick height; if it moves consistently away from the lamp, a draft is present. Correct the ventilation so that fresh air enters near the lamp and warms, or seal low leaks. Then test litter moisture with the palm.
How do I know if ventilation is adequate without measuring airflow?
Two reliable indicators: first, the ammonia smell test—any ammonia detectable when you lower your head into the brooder for five seconds means ventilation is insufficient, regardless of opening size. Second, observe chick behavior: panting at the cool end signals excessive heat buildup; huddling away from the lamp often points to stale air, not just cold. Once both signals are clean, air exchange is adequate.
What if I can’t smell ammonia but chicks seem lethargic?
Check for carbon dioxide accumulation in tightly sealed brooders, especially small, solid-walled boxes. Insufficient oxygen can depress activity even without ammonia. Enlarge the top vent and observe within two hours; if chicks perk up, low oxygen was the problem. Separately, re-evaluate the temperature gradient—lethargy from overheating looks similar but stems from a different root.
Can I use a radiant brooder plate instead of a heat lamp, and how does that change the system?
Yes. A brooder plate simplifies a few parts of the loop but introduces others. Because it warms chicks directly without heating the entire air volume, ventilation demand may drop slightly. However, chicks still produce moisture and CO2, and without the drying convection of a lamp, litter moisture can rise faster. In a plate setup, you must still provide a top vent and monitor litter dampness more frequently. The system still requires managing the heat-ventilation-sanitation loop, but the heat source alters the rate at which litter dries.
At what temperature should I start turning off the heat source permanently?
Standard advice says when ambient temperatures stay above 65–70°F and chicks are fully feathered, roughly 5–6 weeks. The system approach points to distribution: if chicks use the cooler zone more than the warm zone during the day and you can gradually widen the gradient by reducing heat output, they signal readiness. The heat source is no longer necessary when chicks treat the entire brooder as one neutral zone at night. Taper the heat over a week, watching for the first signs of huddling.
The Brooder System in Practice and Your Next Move
A brooder operating as a connected system produces chicks that visibly regulate their own comfort, litter that stays dry with minimal input, and a sharp reduction in the small health crises that consume the early weeks. The most common starting point—a heat lamp over a cardboard box with no planned ventilation—becomes a functioning loop when you add a top gap, a low fresh-air inlet, deep dry pine shavings, and an elevated waterer. That sequence is the first action. Implement it today, then use chick distribution as your real-time dashboard.