Finally Stop Pasty Butt by Reading Your Chicks' Heat Signals
Pasty butt ends when brooder temperature decisions are driven by chick behavior instead of a printed chart. An infrared thermometer combined with three observable signals — huddling, panting, and spreading — creates a thermal gradient that prevents vent pasting without overheating.
The standard recommendation says day-old chicks need 95°F. That number is a starting point, not a guarantee. A lamp set to a chart reading can produce a floor that is 105°F directly underneath and 70°F in the farthest corner. The solution is not a more detailed chart. It is a live feedback loop: measure the floor in multiple spots with an infrared gun, adjust the heat source, then interpret what the birds tell you with their bodies.
What a Correct Brooder Gradient Produces
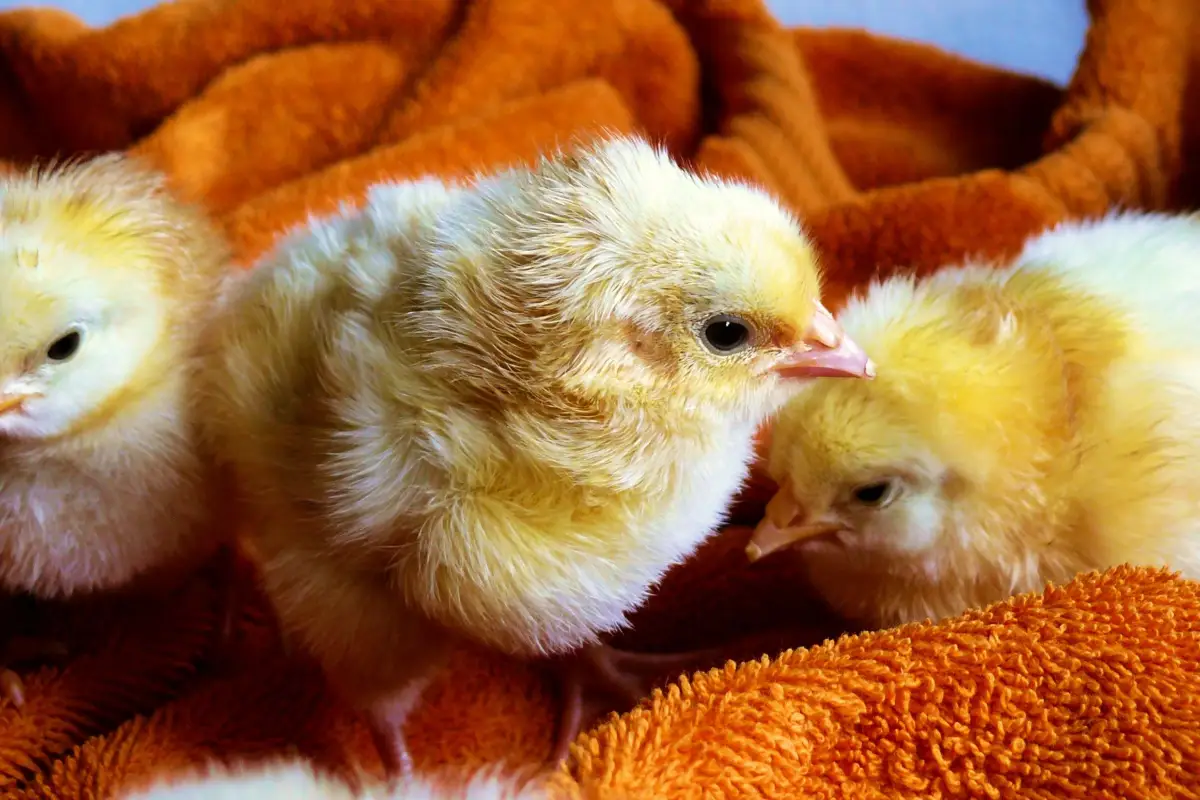
A correctly heated brooder contains chicks scattered loosely across every zone, a few napping in the warm spot, a few pecking in the cool end. Every vent remains dry and open. Pasty butt is absent. No bird pants with wings lifted, and no bird is jammed under the lamp in a tight pack. This is the measurable result of the routine that follows.
Your Heat-Signal Routine: 7 Steps
- Position the heat source at one end of the brooder
- Map floor temperatures with an infrared thermometer at five points
- Set the warm spot to 95°F and the cool edge to 85°F on Day 1
- Observe chick positions and posture every two hours
- Raise or lower the lamp based on huddling or panting
- Check each chick’s vent daily and remove any paste
- Drop the entire gradient by 5°F each week
1. Position the Heat Source at One End
Secure the lamp or brooder plate so it covers no more than one-third of the brooder floor. The common error is placing the heat in the center, which erases the gradient. A chick that becomes too warm must be able to walk to a cooler area without leaving the flock. Setup takes under one minute and determines whether the rest of the steps will work.
2. Map Floor Temperatures with an Infrared Thermometer
Measure the bedding surface directly under the heat source, then at points halfway to the wall, at the wall, and in the coolest corner. A typical brooder shows a 10°F to 15°F drop across that range. The mistake many keepers make is reading the air temperature with a dial thermometer instead of measuring the floor where a chick’s vent rests. That air reading can differ from the floor by more than 10°F. Mapping takes two minutes and should be repeated anytime the room temperature shifts by five degrees.
3. Set the Warm Spot to 95°F and the Cool Edge to 85°F
On the first day, the floor directly under the heat source reads 95°F and the farthest corner reads 85°F. These numbers are a baseline, not a rule. A late-hatched or weak chick may require 97°F for the first six hours, a temporary adjustment only. The frequent mistake is demanding exactly 95°F at every location, which eliminates the gradient and forces birds into a single motionless cluster. A functional brooder works as a range, not a fixed setpoint.
4. Observe Chick Positions Every Two Hours
Look at the brooder without disturbing the birds. Chicks spread through all zones, some resting under the lamp, some feeding in the cool end, indicate a correct gradient. A tight, silent huddle centered under the heat means they are cold — lower the lamp or increase output. Birds pushed against walls as far from the heat as possible, wings held out, signal overheating — raise the lamp immediately. Error appears when checks happen only at morning and evening chore times, missing the slow shift that occurs as outdoor or room temperatures change. Two-hour observation windows catch drift before it stresses the flock.
5. Raise or Lower the Lamp Based on Huddling or Panting
Adjust the heat source height in small increments — one inch or a two-degree thermostat change — then wait thirty minutes before evaluating. Large corrections are the primary cause of a rapid flip from huddling to panting, which destroys the behavioral signal. Small, deliberate moves let you fine-tune the gradient without overshooting.
6. Check Each Chick’s Vent Daily
Pick up every bird and inspect the vent. A healthy vent is dry, pink, and free of hard caps. If a small plug of dried feces is present, dampen a cotton pad with warm water, press it against the plug for thirty seconds, and gently work the material loose. Pulling dry paste tears skin. This inspection takes about sixty seconds per bird and catches early chilling before it becomes full blockage. The most common failure is skipping the check because the brooder appeared normal — posture and temperature can be correct while one bird, often the smallest, is already developing paste.
7. Drop the Entire Gradient by 5°F Each Week
Lower the warm spot and the cool edge by 5°F at the start of each week. Week two becomes 90°F to 80°F, week three 85°F to 75°F, continuing until the brooder temperature matches ambient room conditions. The goal is to remove all supplemental heat by the end of week four, or later if feathering is slow. The typical error is reducing the lamp output but failing to re-map the floor. The previous gradient collapses, and a cold patch appears that goes undetected until birds begin huddling in that spot.
Before You Close the Brooder Door Tonight
- Infrared thermometer readings at five floor locations all fall inside the target gradient
- No tight huddle is present; chicks occupy at least three distinct temperature zones
- No bird is panting or holding wings away from its body
- Every vent is dry and clear
- Lamp adjustment is recorded, with a note to recheck in two hours
Heat Signal Cheat Sheet
Print this and attach it to the brooder.
- Day 1: Warm spot 95°F, cool edge 85°F, re-map at noon and dusk
- Hourly check: Huddle = lower lamp. Panting = raise lamp. Spread = correct
- Daily: Vent inspection on all chicks, warm-water soak for any paste
- Weekly: Drop gradient 5°F, re-map floor
Quick Answers to Common Heat and Pasty Butt Questions
What causes pasty butt in chicks?
Pasty butt, or cloacal pasting, develops when soft droppings dry and glue the vent shut. Chilling is the main trigger because it slows digestion and allows waste to stick to feathers. Stress, dehydration, or brooder temperatures that are either too low or too high can also contribute.
Why use an infrared thermometer instead of a regular one?
An infrared gun reads surface temperature instantly, allowing you to map the exact floor conditions chicks experience. Wall or dial thermometers measure air temperature, which regularly differs from the bedding surface by several degrees — exactly where the vent makes contact.
How long should chicks stay under heat?
Most breeds require supplemental heat for four to six weeks. The gradient should decrease weekly until the brooder matches ambient temperature. Fully feathered chicks maintain body heat independently, but if nighttime huddling appears after the lamp is off, investigate for a draft or a room that is too cold.
One chick got pasty butt even though the flock is spread out. Why?
Individual variation explains isolated paste. Some chicks hatch weaker, later, or have a genetic predisposition. A single case in an otherwise comfortable flock does not indicate the gradient is wrong. Treat the affected vent, but do not adjust the heat source for one bird at the group’s expense.
Can pasty butt kill a chick?
Yes. A blocked vent prevents waste elimination, leading to internal toxicity and death, often within 24 to 48 hours. This is why daily vent checks are mandatory, not optional.
The Result: A Flock That Self-Regulates
When the gradient is correct, pasty butt becomes infrequent because birds are never forced to choose between cold and the company of the flock. They regulate their own temperature, and daily management shifts from treating blocked vents to brief, routine checks. Next time, skip the temperature chart. Begin by aiming the thermometer at the floor, then step back and let the birds indicate what they need.